


- Joined
- Jun 7, 2014
- Messages
- 2,899
- Reaction score
- 4,727
I dont normally post stuff straight away but this place was a pleasant surprise so thought Id do it while fresh in my mind.
So I am off work this week, but our company had a hours work down Southend so I offered to do this foc so long as my mileage is paid so my Son & I could spend the day playing down that way so while in Rome...
Had this pinned for an age but had no idea really what was here, the original features & dared I say it minimal amount of graff made it for me.
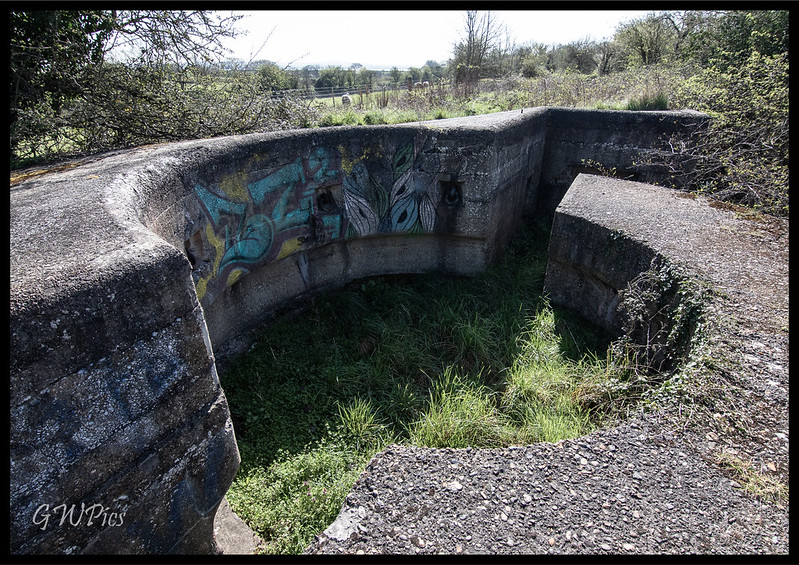
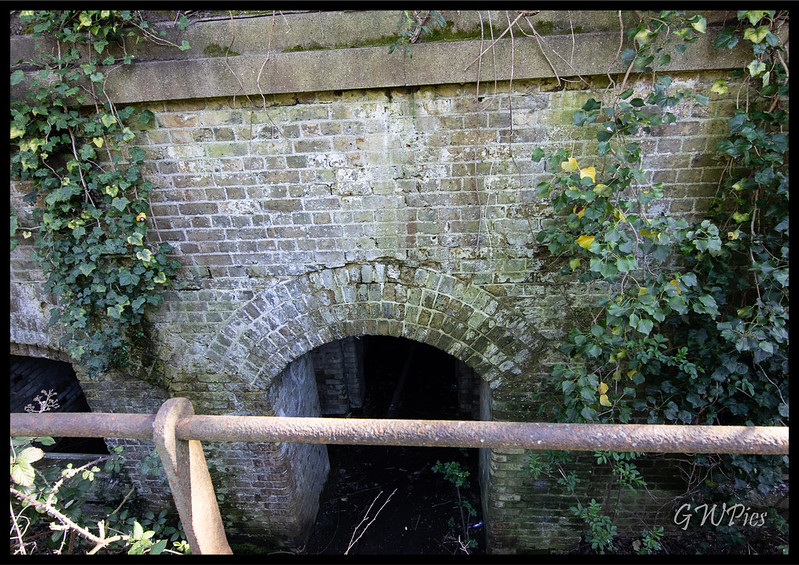
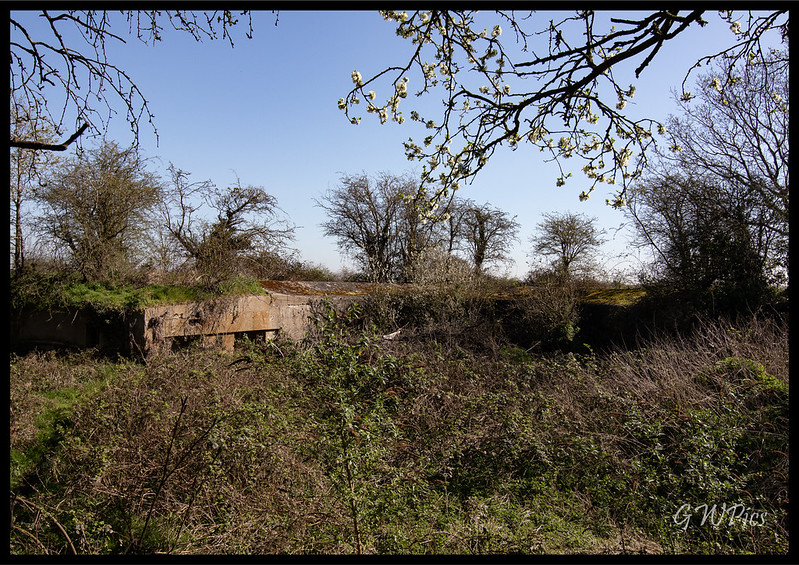
East Tilbury battery was built to supplement Coalhouse Fort as part of the Thames' coastal defence system. It was constructed between 1889-1892 for long-range fire weapons. Its form rejected the stark outline of its predecessors, instead being blended into the landscape by means of a long and sloping earthern frontal area so that from a distance it was invisible. This was known as the 'Twydall Profile'.
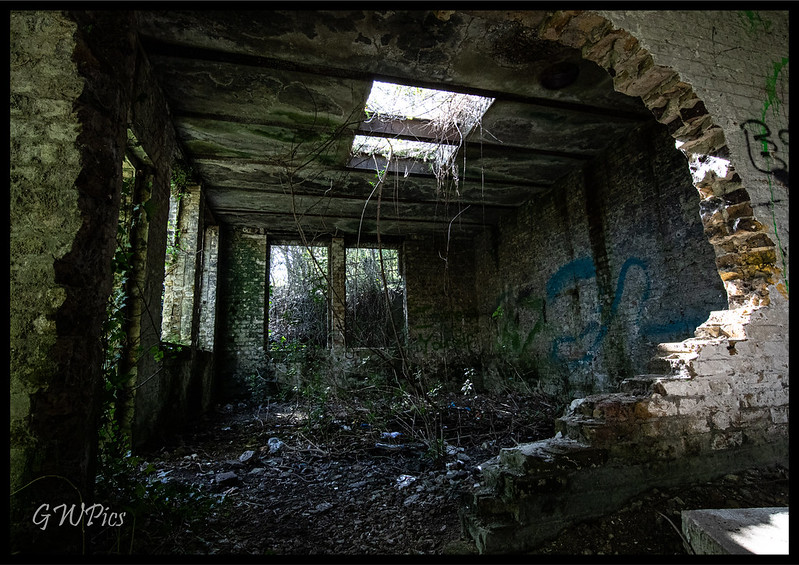
The guns at the battery, two 10-inch Mk. III and four 6-inch Mk. VII breech-loading guns, extended the tactical doctrine of invisibility, being mounted on 'disappearing carriages' which lay flat in deep emplacements for reloading and aiming but which were raised above the parapet for the few seconds of firing. Although the guns were removed when the battery was decommissioned in 1907, the remainder of the fortification is well-preserved.
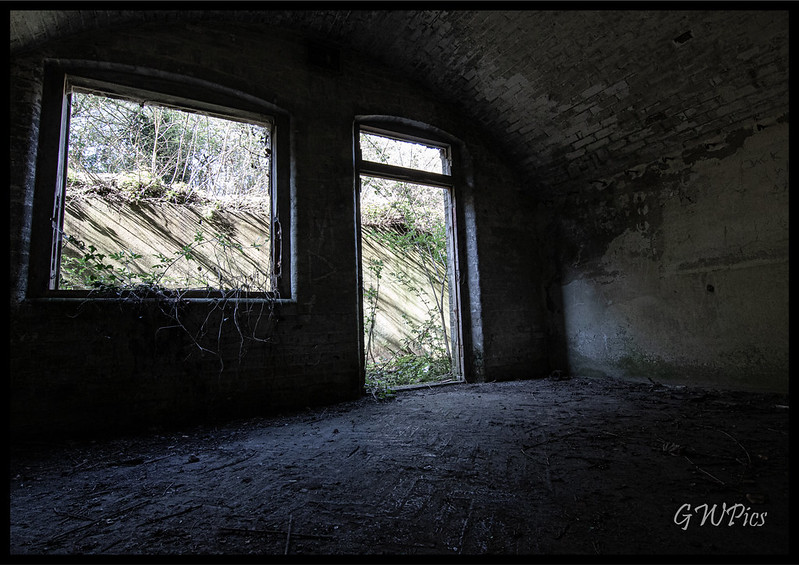
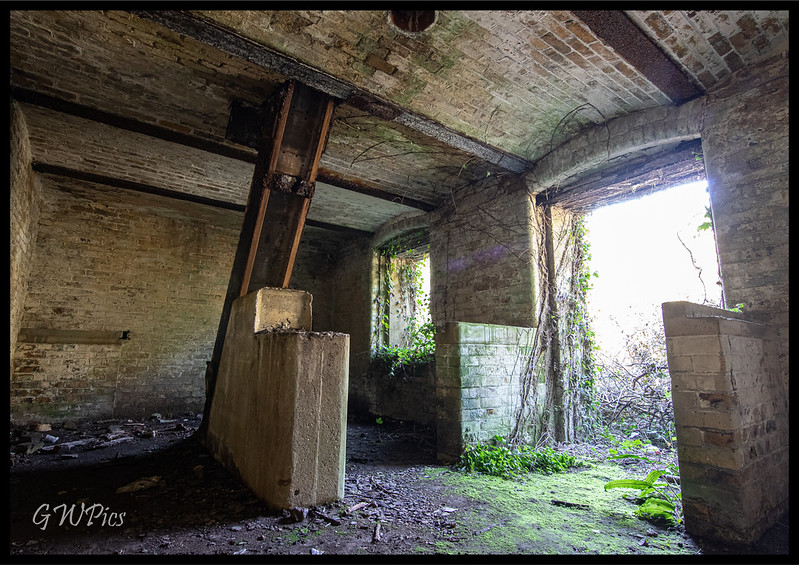
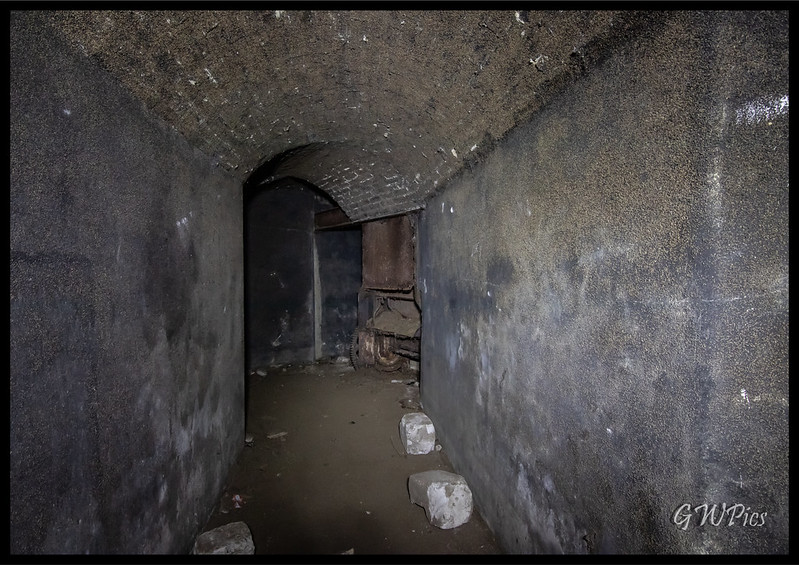
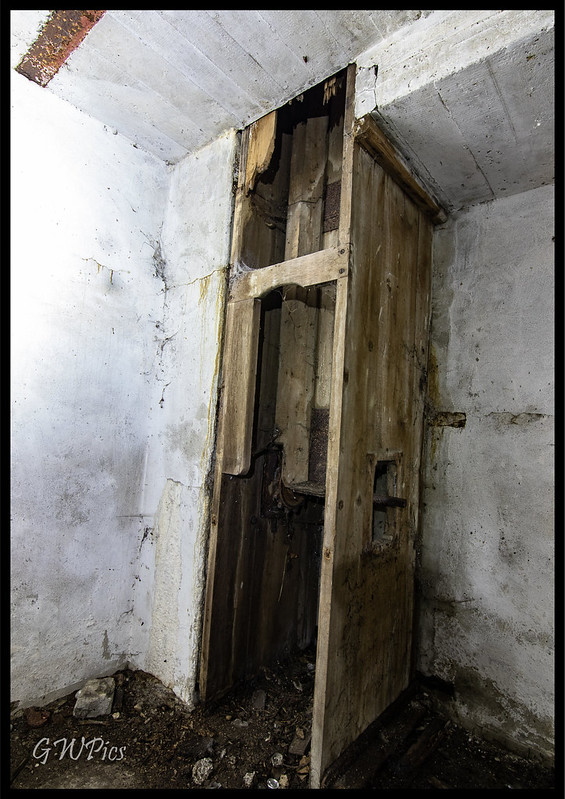
Heading underneath is where this place gets really interesting, this room contained a single wooden lift still in excellent condition
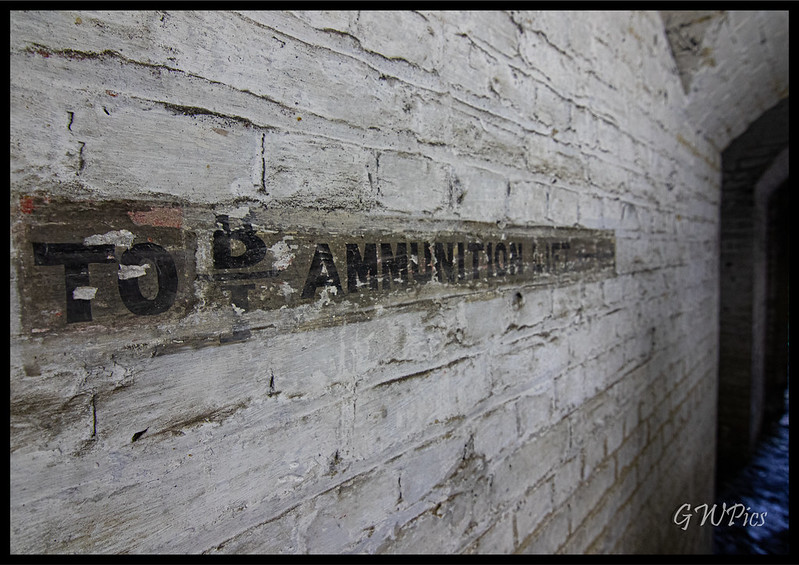
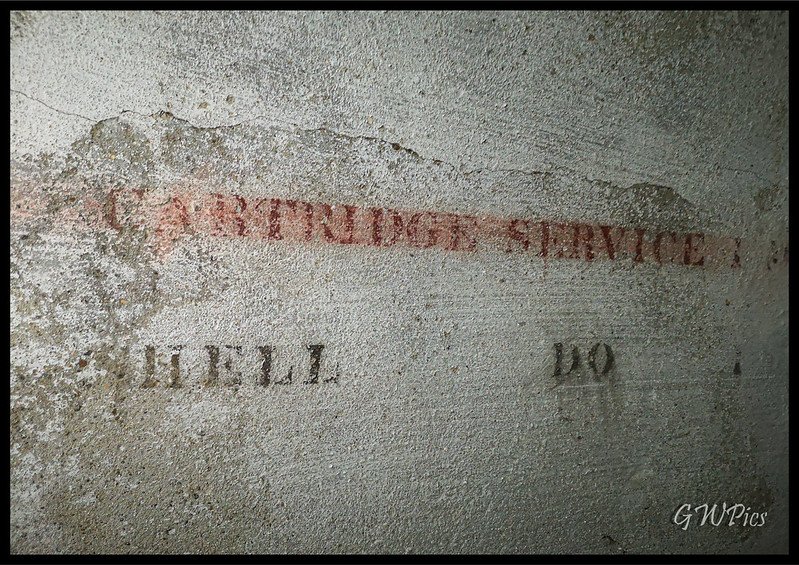
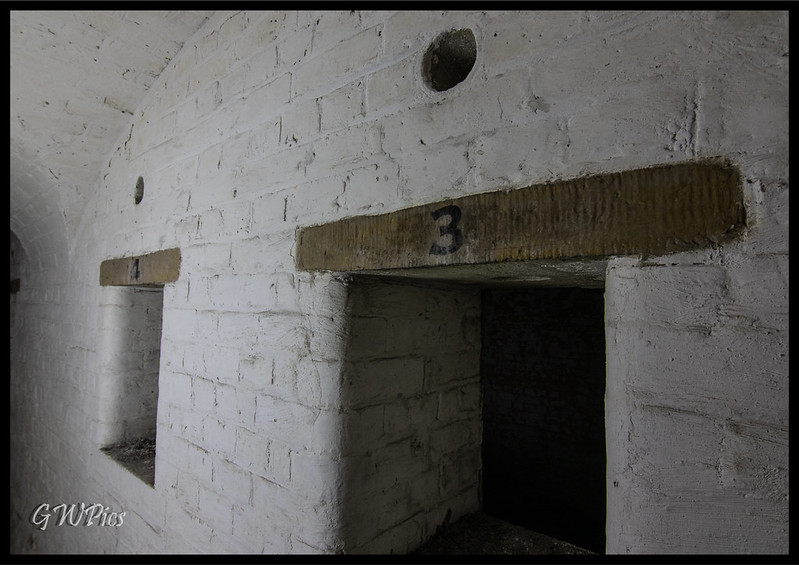
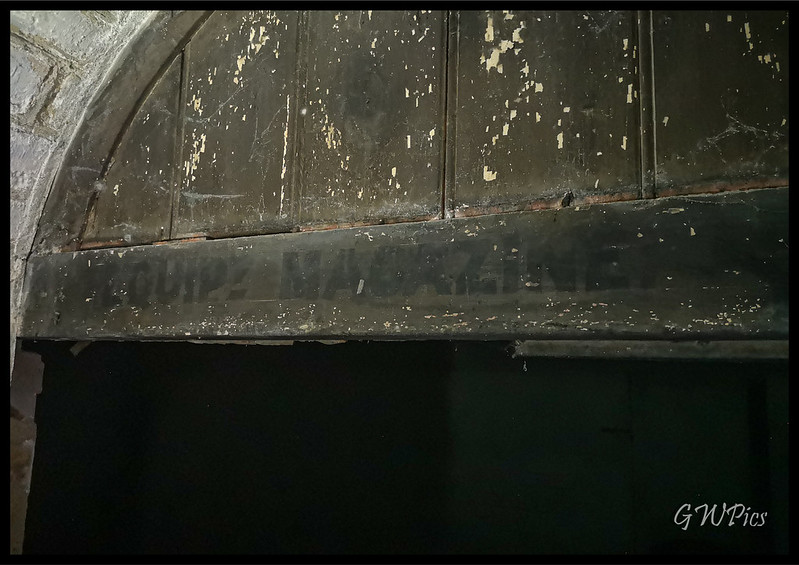
The next battery has handy directions
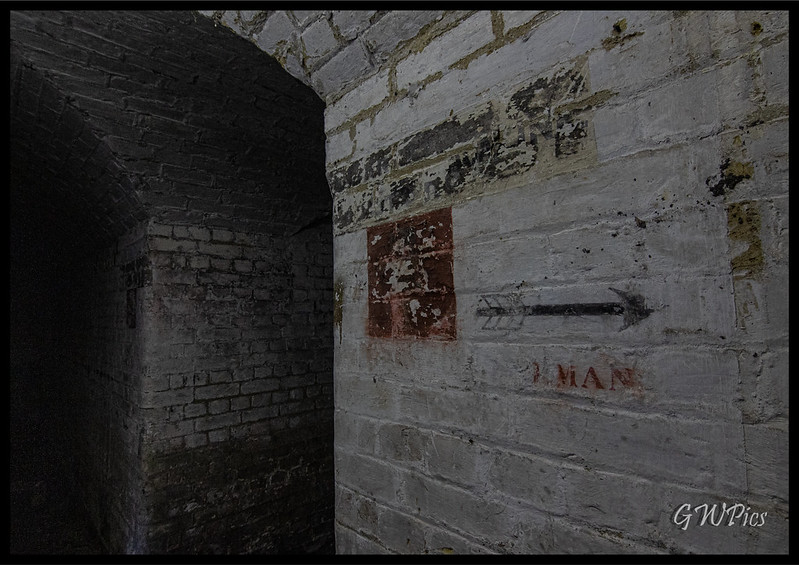
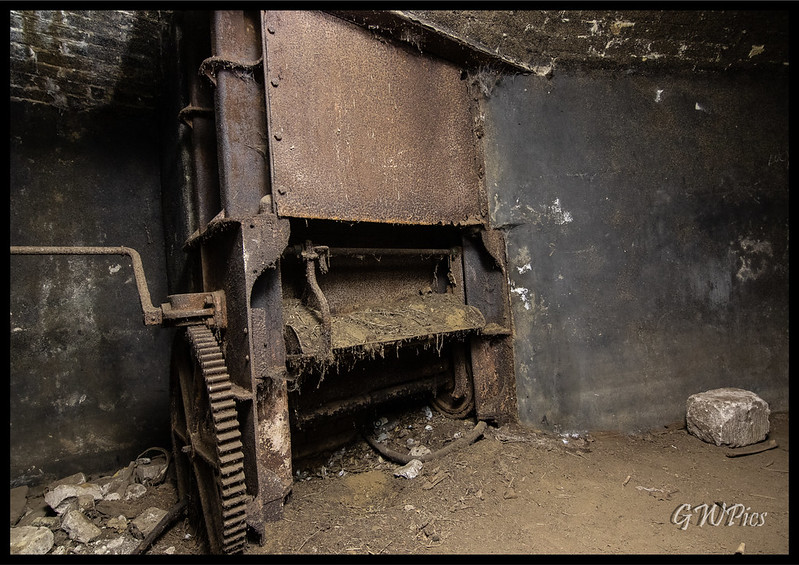
Follow the signs in either direction of this symmetrical design & you reach these rather nice large mechanical lifts.

Into the last battery & we find more signage goodness.

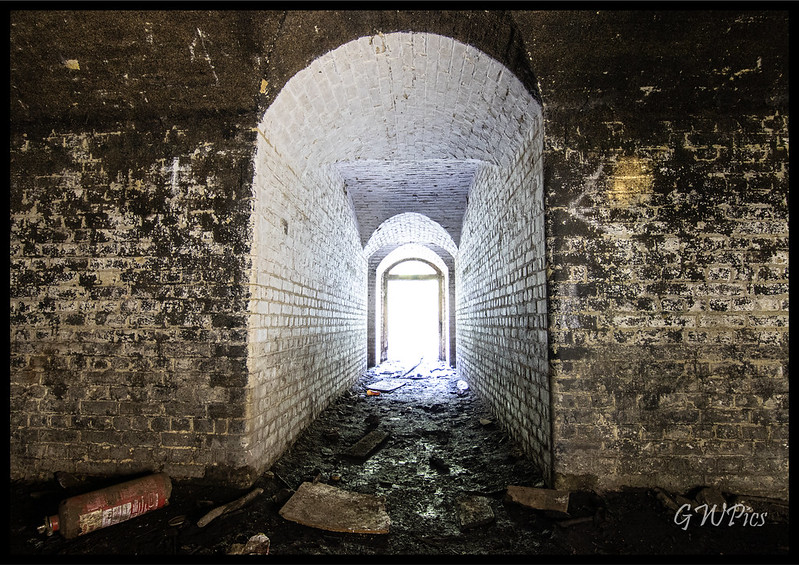
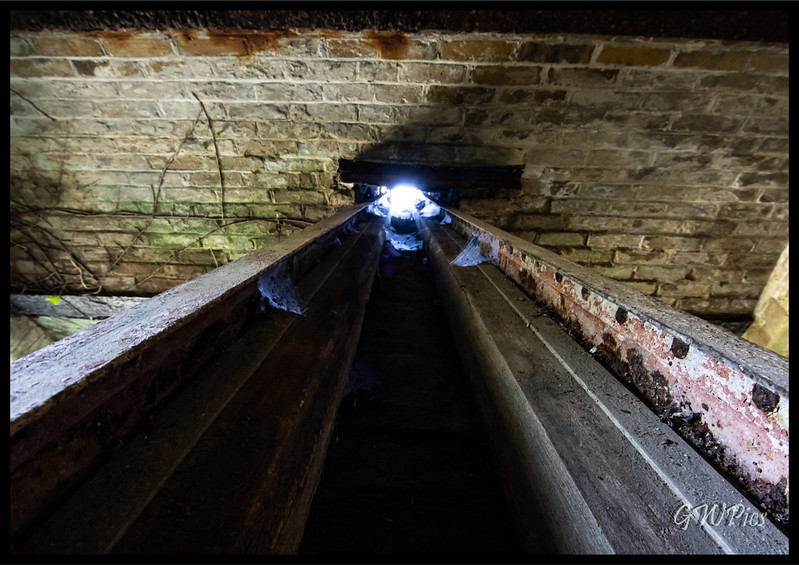
Loved this "lighting passage"
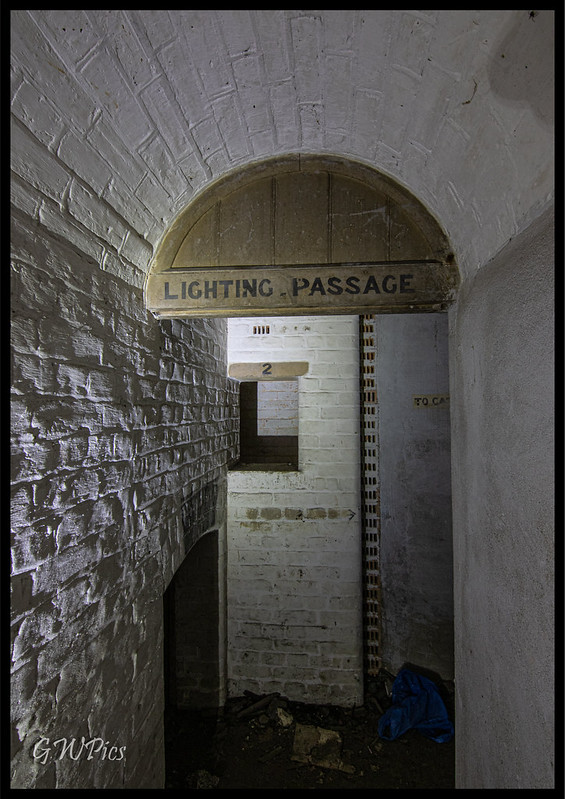

Which brings you to another wooden shell lift

Hope u enjoyed this one as much as I did