- Joined
- Jan 6, 2013
- Messages
- 5,574
- Reaction score
- 11,213
1. The History
On the steep slopes of Via Gellia, a number of old lead mines and their soughs (drainage adits) can be found, all boasting the features you’d expect to be associated with 18th century lead extraction; shafts, whinzes (internal shafts), coes, stopes, coffin levels and stone-lined buddles.
Just north-east of the larger Silver Eye mine, lies Upper Cawror Slack with its upper 170ft above its lower levels. The adit was driven to tap into the 12”-24” thick band of baryte, fluorspar and calcite in the 1800s. Little other history about the place exists apart from the main adit had collapsed and the mine was inaccessible for many years until it was dug out in 1970 by R.B.Flindall. The smallness of the mine’s tip indicates this wasn’t a big mine, reinforced by the apparent lack of it being trammed and not having a miners’ coe.
Nearby, to the west, Gell’s adit can also be found. A much bigger concern, the mine’s waste tip almost reaching the road below. The mine’s name was taken from the Gell family who were very influential in the local lead mining community around the late 1600s. Worked throughout the 1800s and driven using drills, the only records entry for the mine is to note the death of a man who was working in the adit alone, in 1884. Like Cawror, the mine was entered for the first time in many years when the collapsed adit entrance was again dug out by R.B.Flindall, also in 1970. The initial entrance section was characterised by no less than five whinzes. ranging from 10ft to a staggering 62ft deep. Beyond the whinzes the stoping appears in order to extract led from the Old Gell’s vein along an easterly trajectory. The mine then swings through 120 degrees and then through 90 degreed to continue in a south-easterly direction before hitting a T-junction in order to with follow a strong north-south vein.
Map of Gell’s adit courtesy of R.B.Flindall and A.J.Hayes:

2. The Explore
Over the past couple of years we’ve been working our way through the lead mines of Via Gellia. Today it was the turn of Gell’s adit with regular mine exploring buddy J, the legend that is @bikinglyn and, for the first time, @Timmmy (nice to meet you mate!).
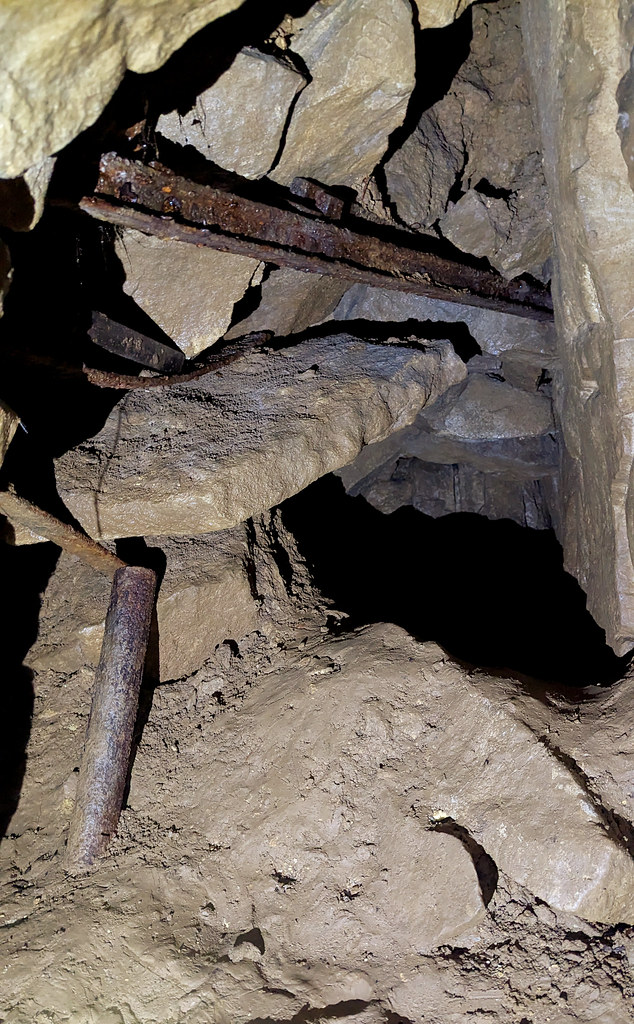
On a slightly foggy Sunday morn, we made our way along the public footpath from the lay-by, crossed the small wooden bridge over the stream (carefully, as J came a cropper on this two weeks previously!) and headed up the steep hill. Passing the right turn up to Goodluck mine, the slope then steepened and workings appeared both sides of the ‘path’. According to our map, these workings were Upper Cawror Slack mine. We had a small survey and of the two open entrances, the west one looked like there was a bit more to see. We quickly found the entrance as it was off to our left by the path and then we quickly squeezed in. After passing simultaneous short passages to the left and right (a cross-roads, right!), the passage quickly turned through 90 degrees to the right then ended abruptly in a significant collapse. This wasn’t the end, however. There was a shonky looking crawl through passage off to the left that involved shimmying under some rocks being held up by an iron bar. Bikin’ needed no inviting and he was through in a heartbeat. Me and Timmmy followed cautiously. It soon came to a T-junction where the adit ran parallel to Cawror Slack vein. To the right was a 30ft deep whinze and to the left the passage soon turned into a crawl, so we decided to make our way carefully back out and on to our main quarry.
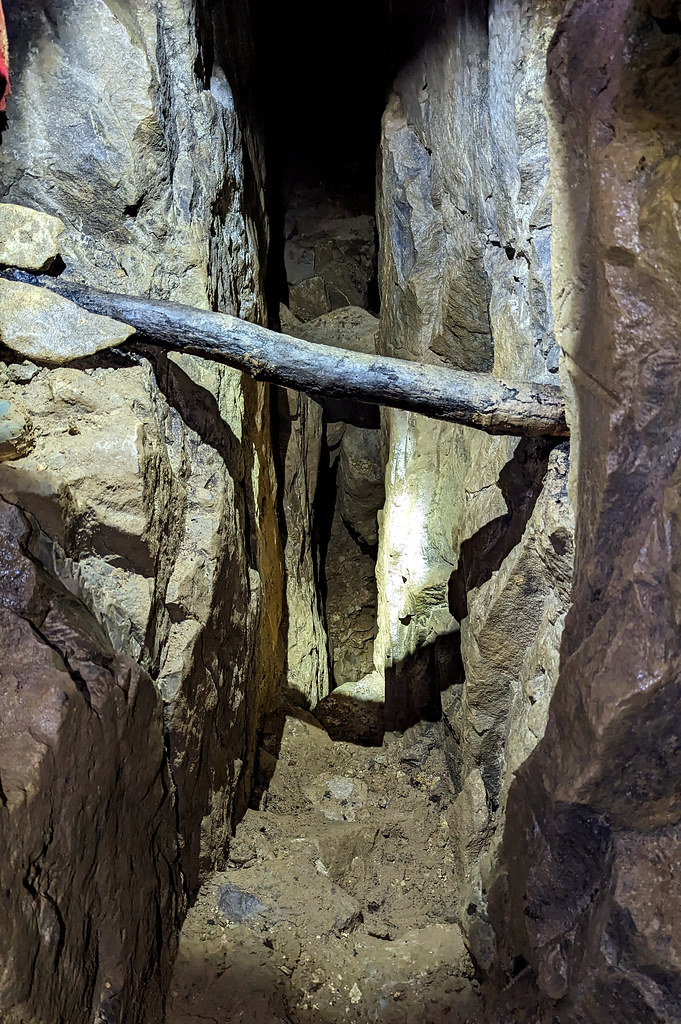
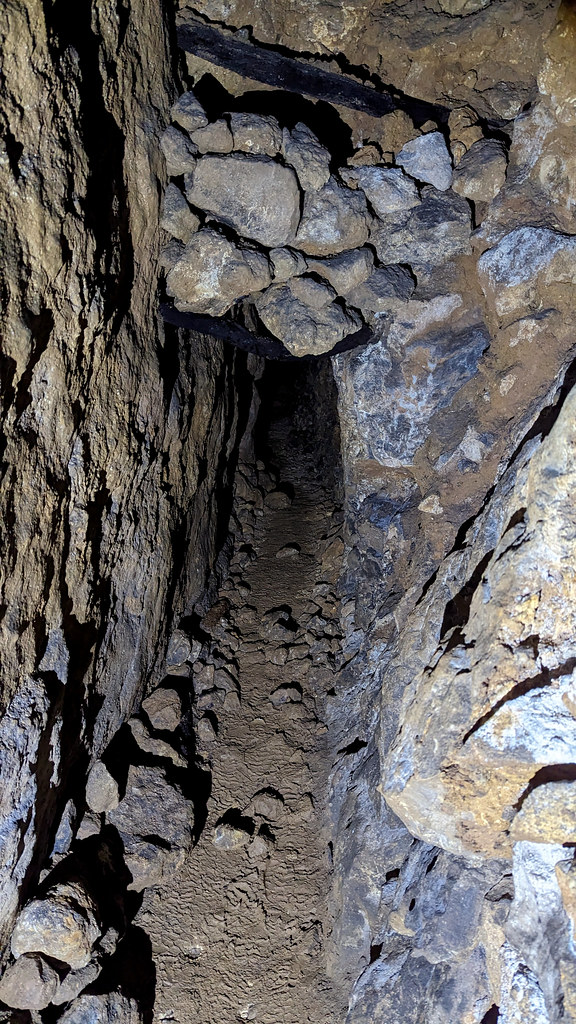
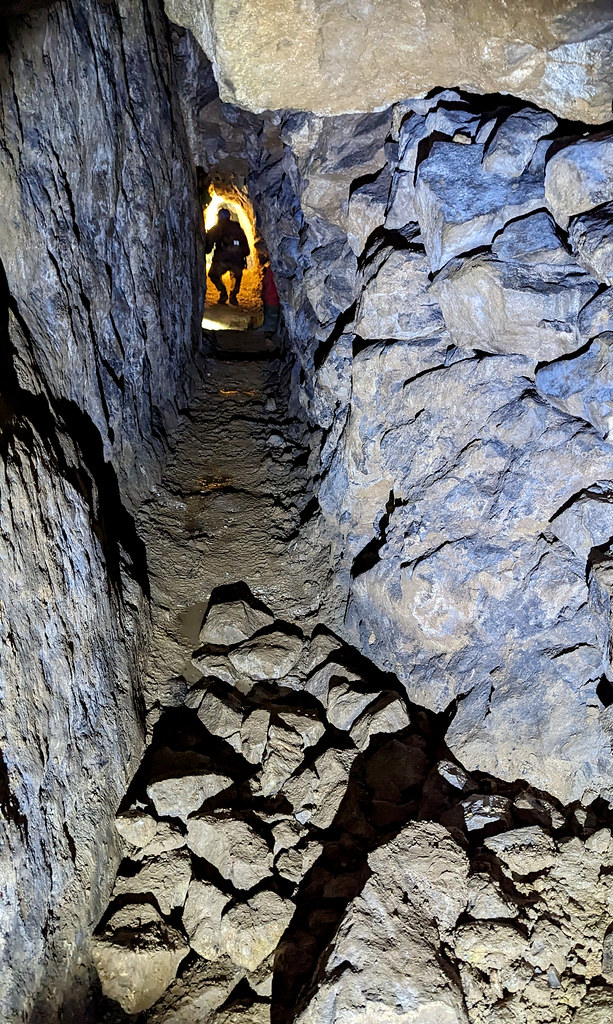
Continuing up the hill, we bore upwards and then along the fence line at the top of the hill, keeping left along what can only be described as a vague track through the trees. Eventually we passed another partly collapsed shaft and then what looked like a waste tip and the walls of a ruined coe, so we knew we had found our adit. And sure enough, the small entrance to Gell's Adit was close by. Helmets were donned, torches switched on and in we went! We soon came to the first challenge. A 20ft adit with a plank to cross it! We gingerly crossed one-by-one. The 2nd whinze, a hair-raising 62ft deep, but fortunately was set back in an alcove to the right and the 3rd (12ft) and 4th (15ft) whinzes were easy to skirt round. The 5th 33ft deep whinze required a short leap over. With the holes in floors negotiated we were into the stoping. Moving through partial collapses and stoopy sections we then came to the “wet section”. I’d put on my wellies, J had his waders and Timmmy and Bikin, like myself, had wellies too. It became apparent very quickly that this was an “above welly” situation. So we just took the plunge and quite literally filled out (welly) boots. After a turn right and crawl under a small waterfall we continued on a section where it was very apparent that the mine was trammed. We then hit a crosscut tunnel and after looking at the collapse to the left and following the left turn to what eventually becomes a collapse, we turned round to make our way back out having travelled approximately half-a-kilometre into the mine. Overall, a very enjoyable lead mine. Not much in the way of mining detritus but an interesting adit to travers and worthy of its Grade II rating.
Having all safely emerged from the mine having spent the best part of an hour-and-a-half underground, we emptied the water out our wellies, wrang out our socks and scraped off the mud and made our way back down the steep slope to the car.
3. The Photographs
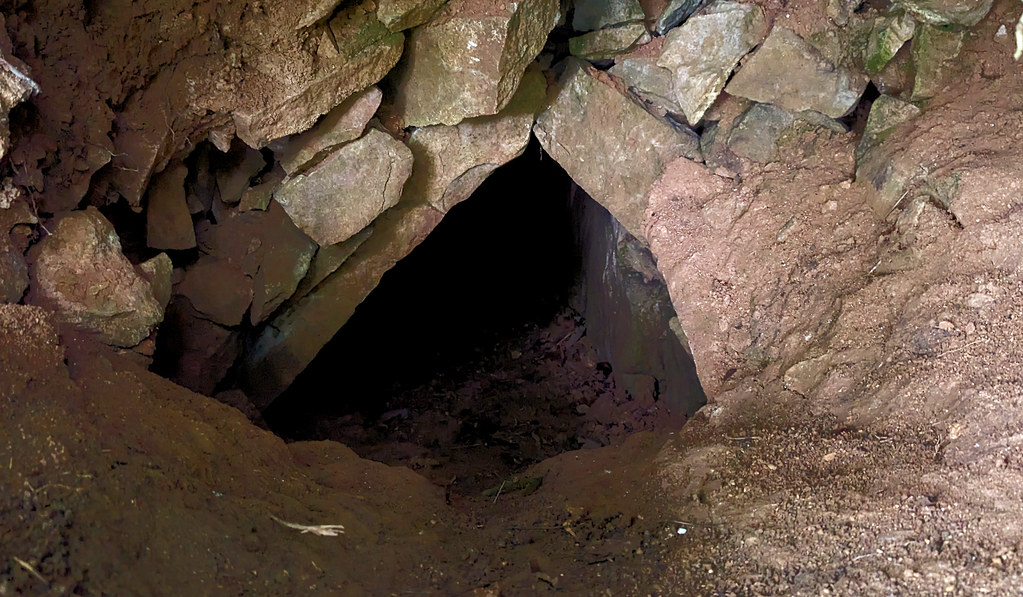
(A) Cawror Slack
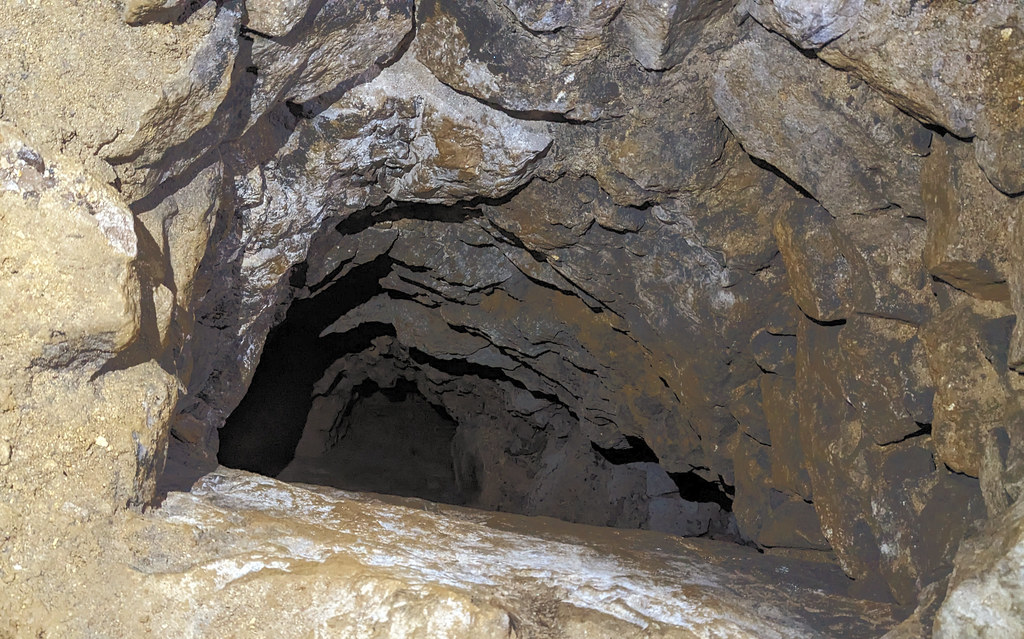
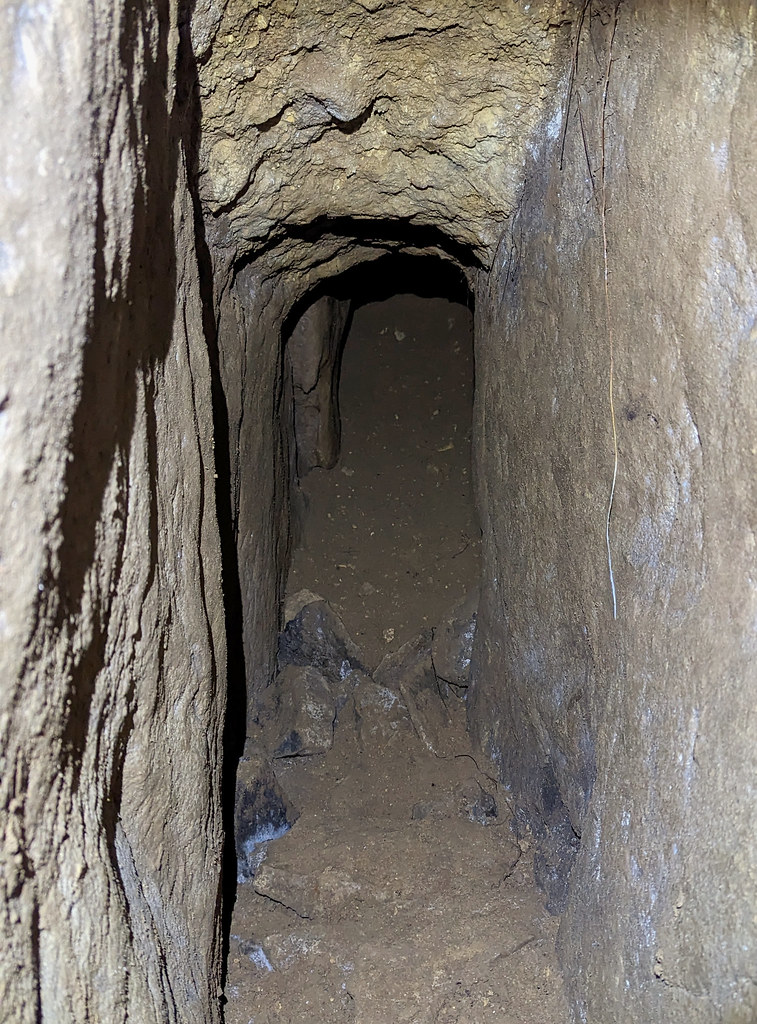
Here’s the adit:
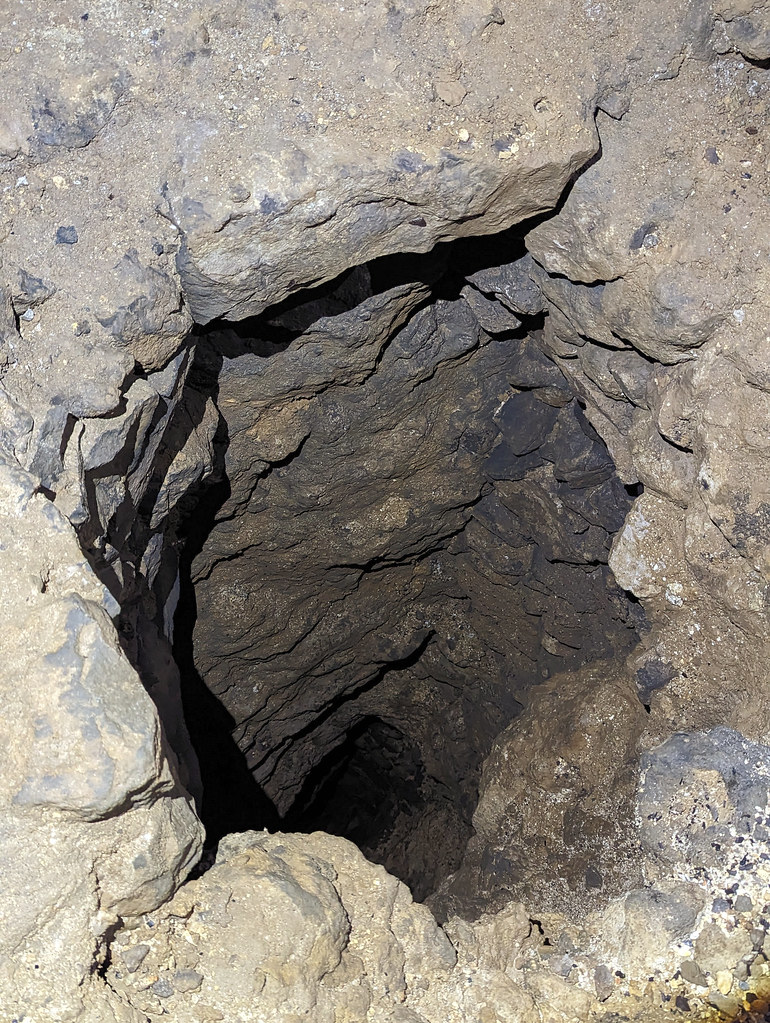
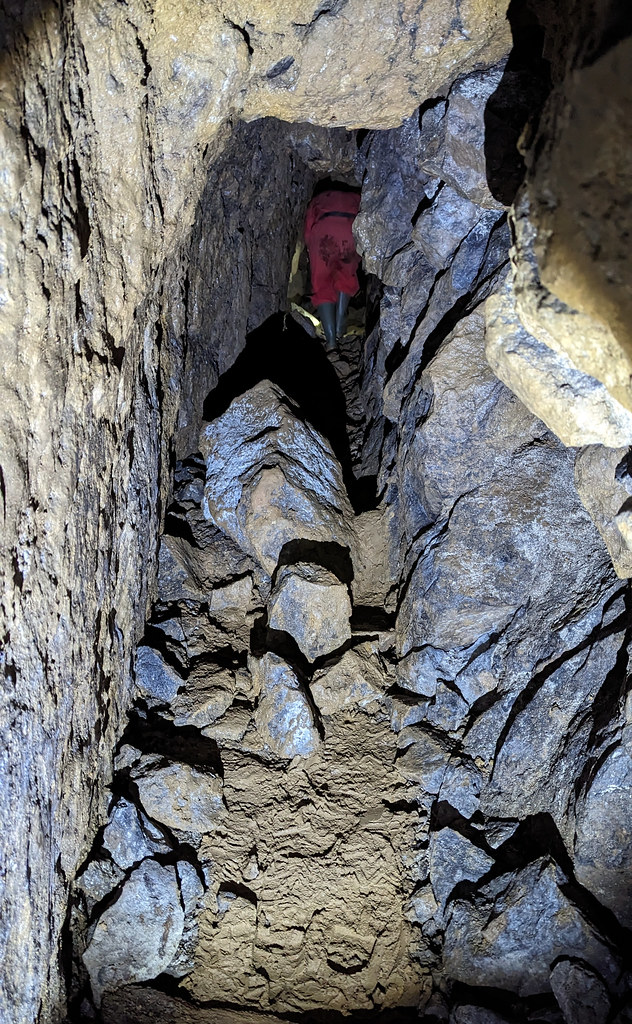
Here’s the squeeze!
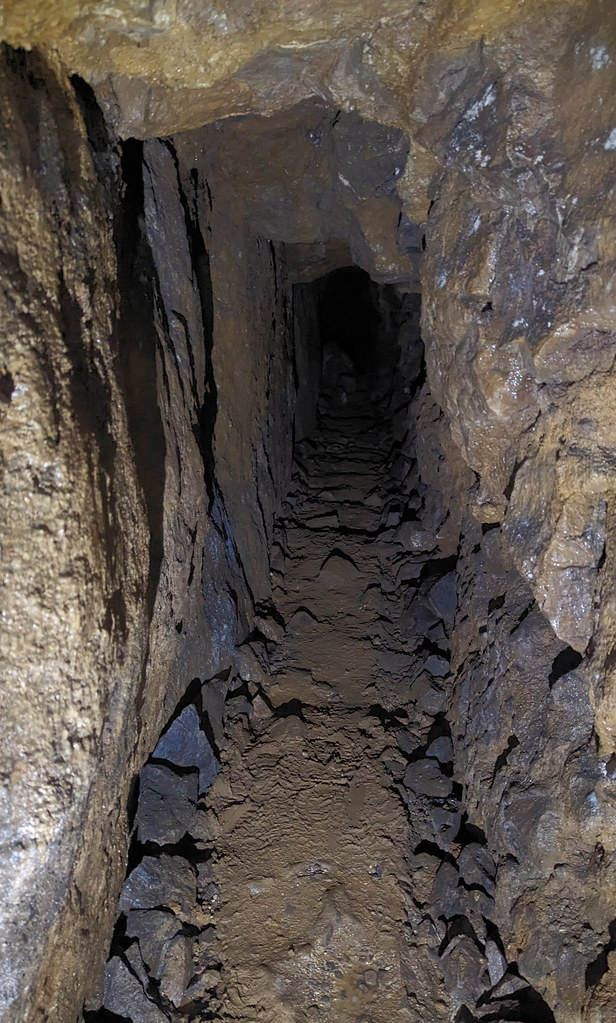
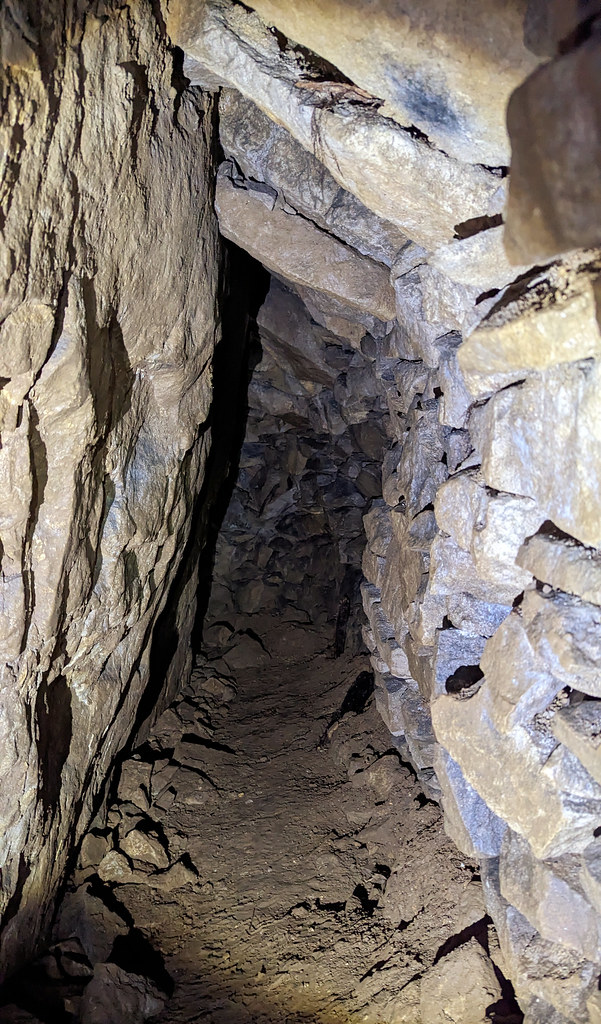
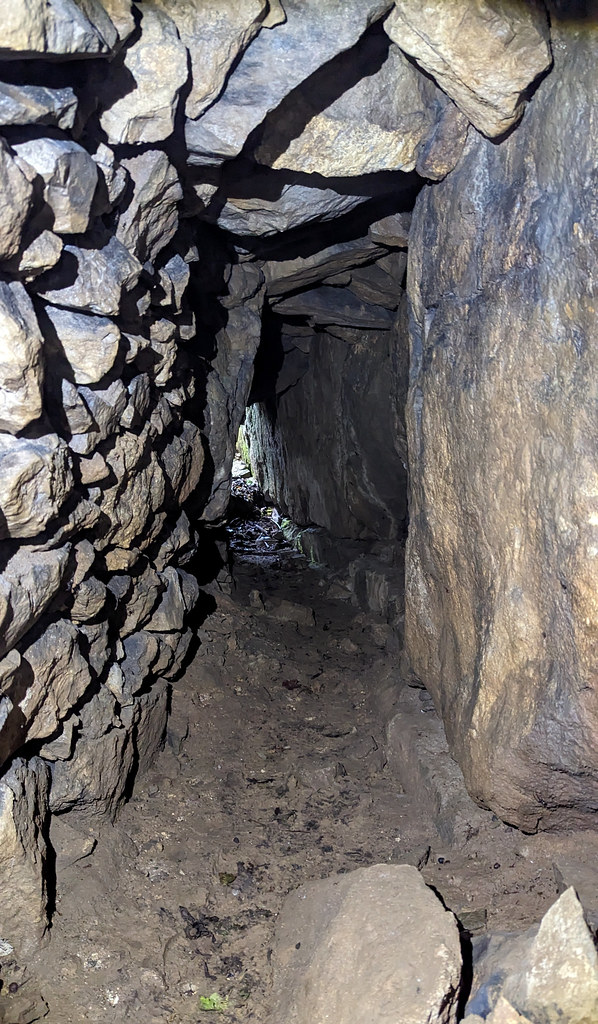
It’s rocky:
And rugged:
Short passage off above to the right:

And a dead end to the left:
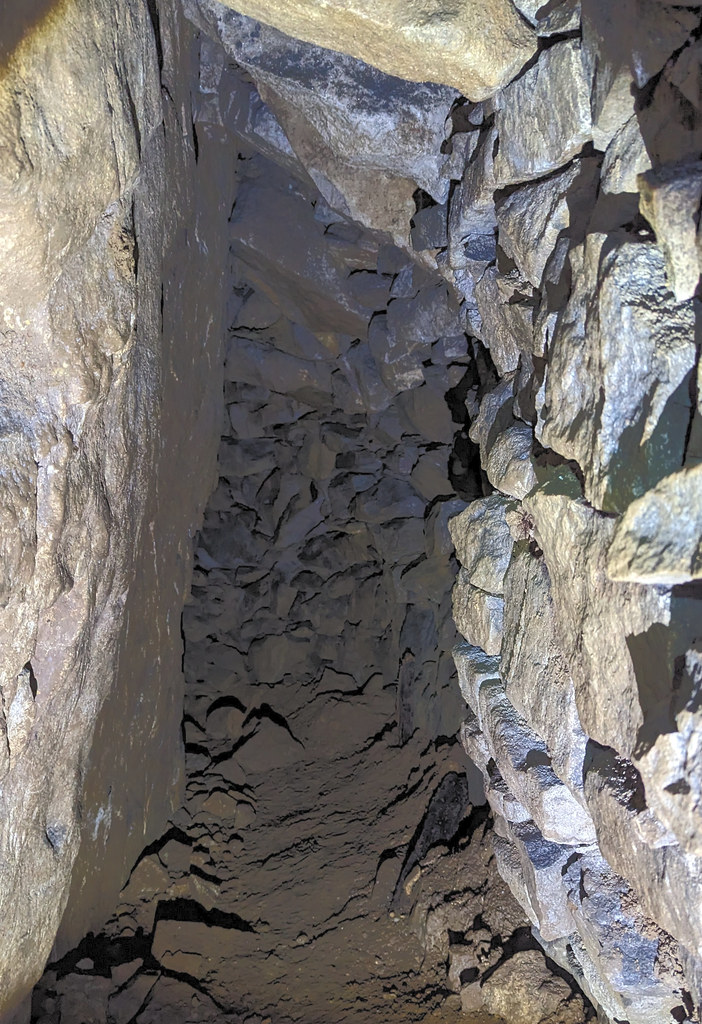
Having turned the corner:
The adit ends in a collapse:
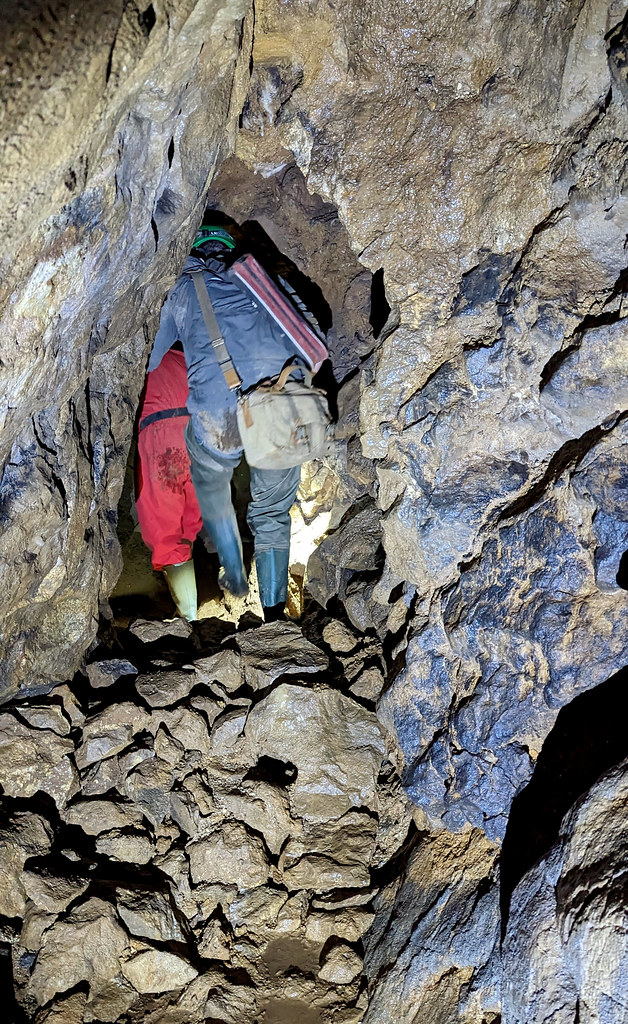
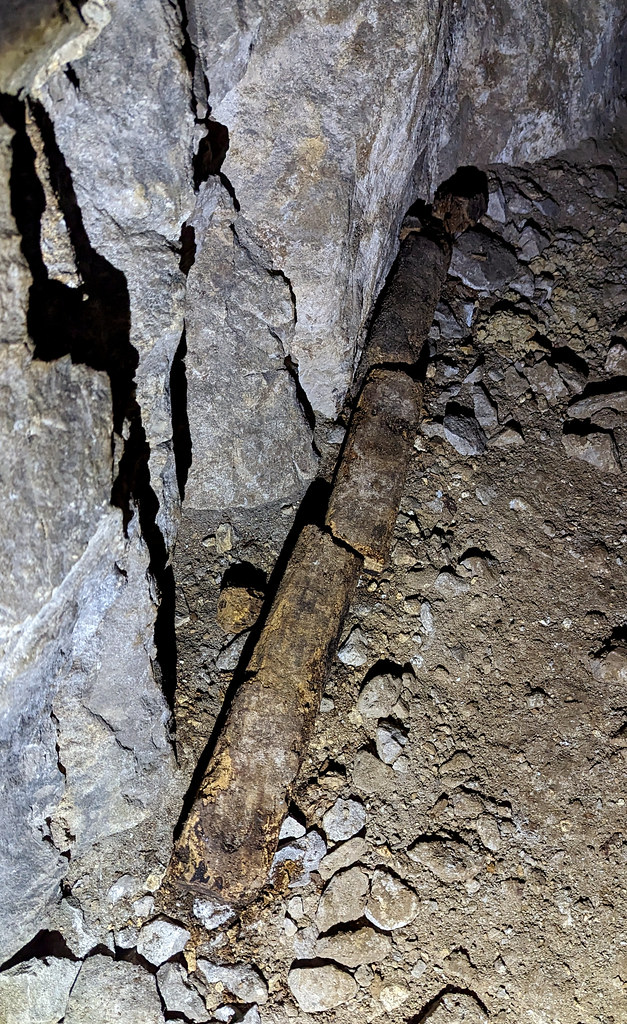
But here’s that shonky crawl through to the left:
Through and to the T-junction. Here’s the 30ft whinze to the right:
The passage to the left very quickly narrows so time to turn around:
Back out we go:
That’s all for that one folks!
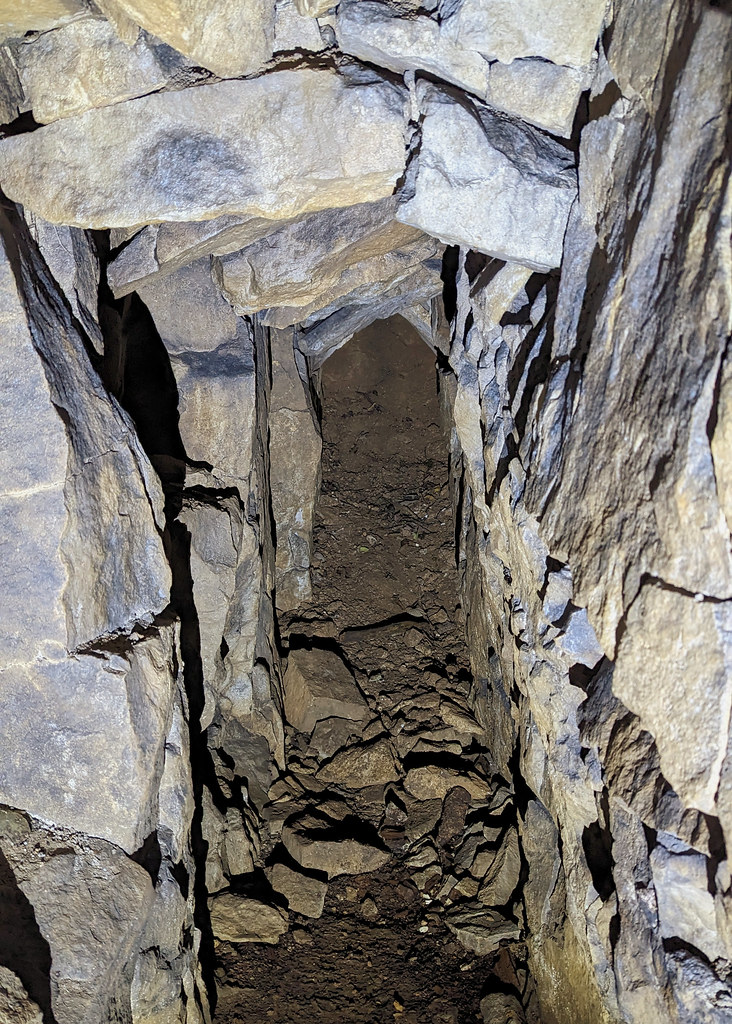
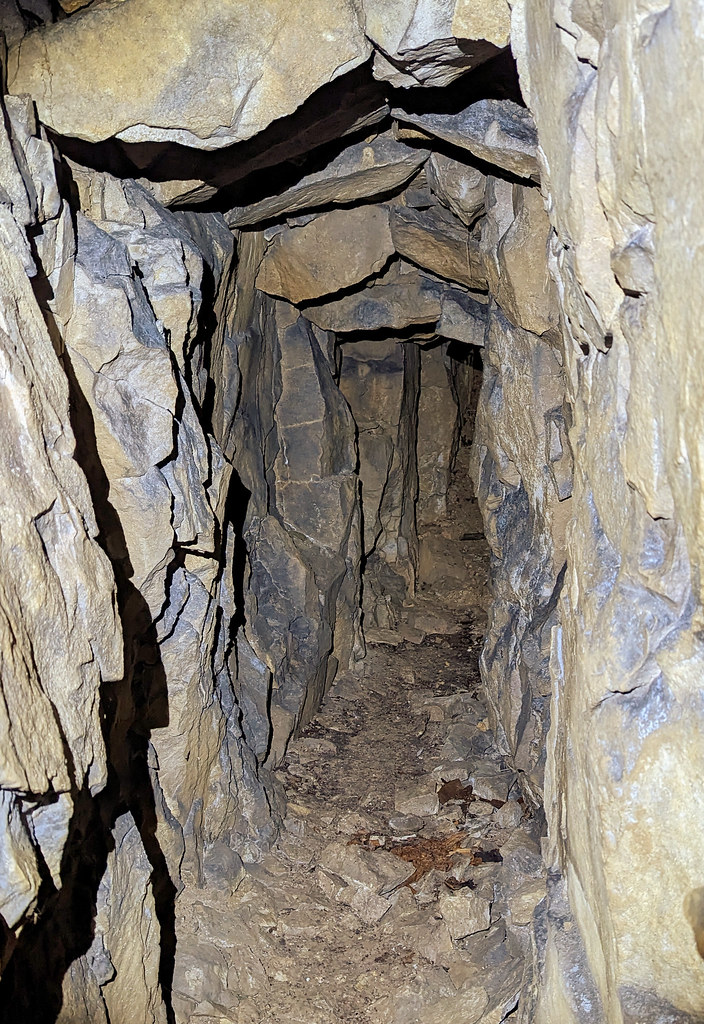
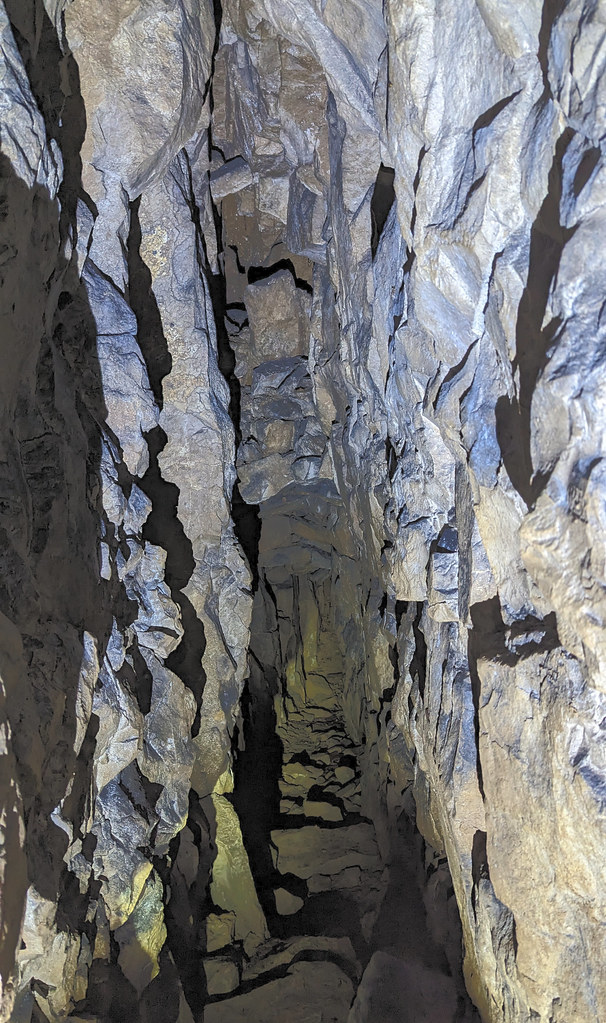
(B) Gell’s Adit
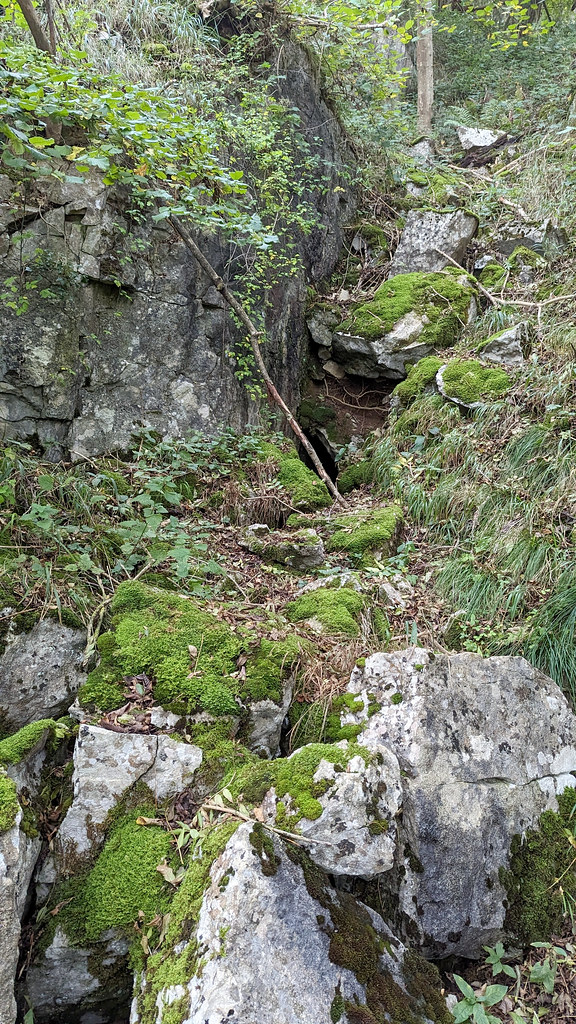
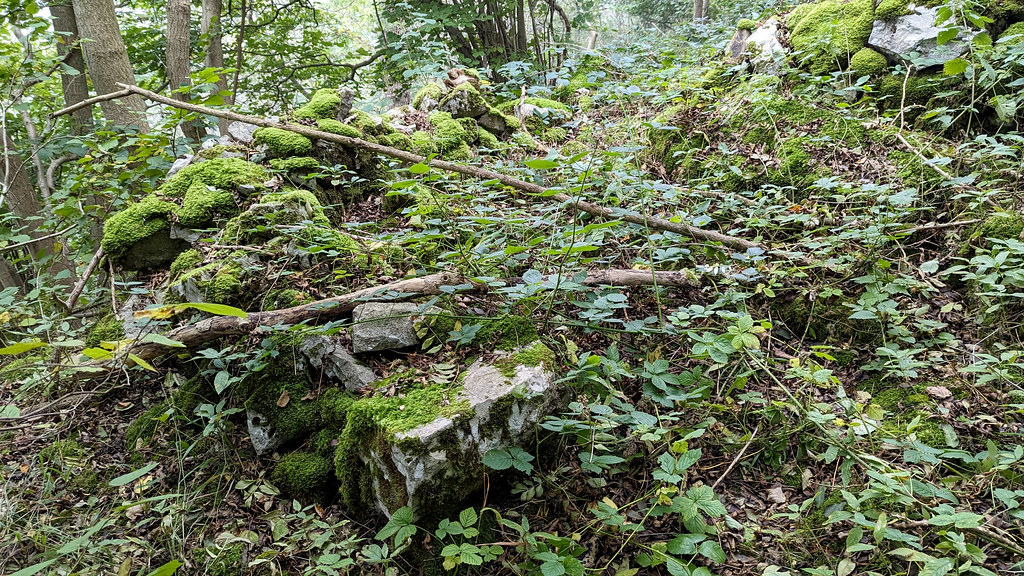
Here’s the collapsed coe:
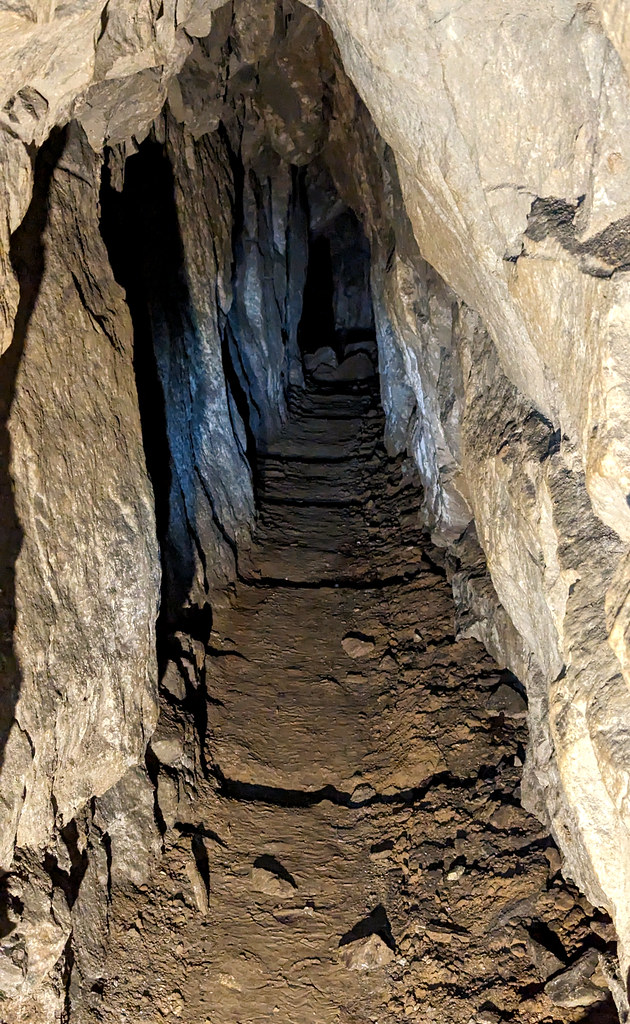
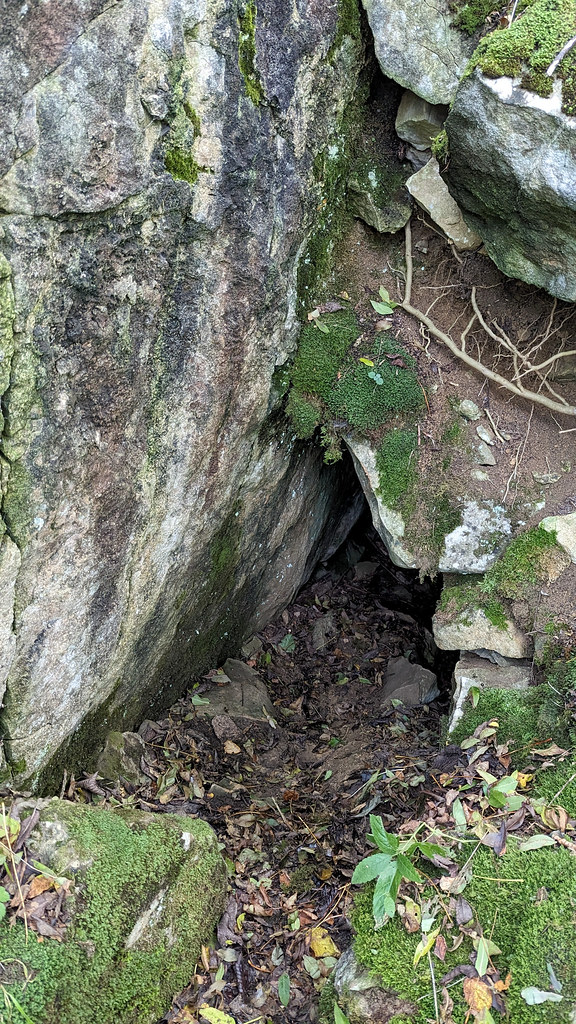
And here’s the adit:
In we go:
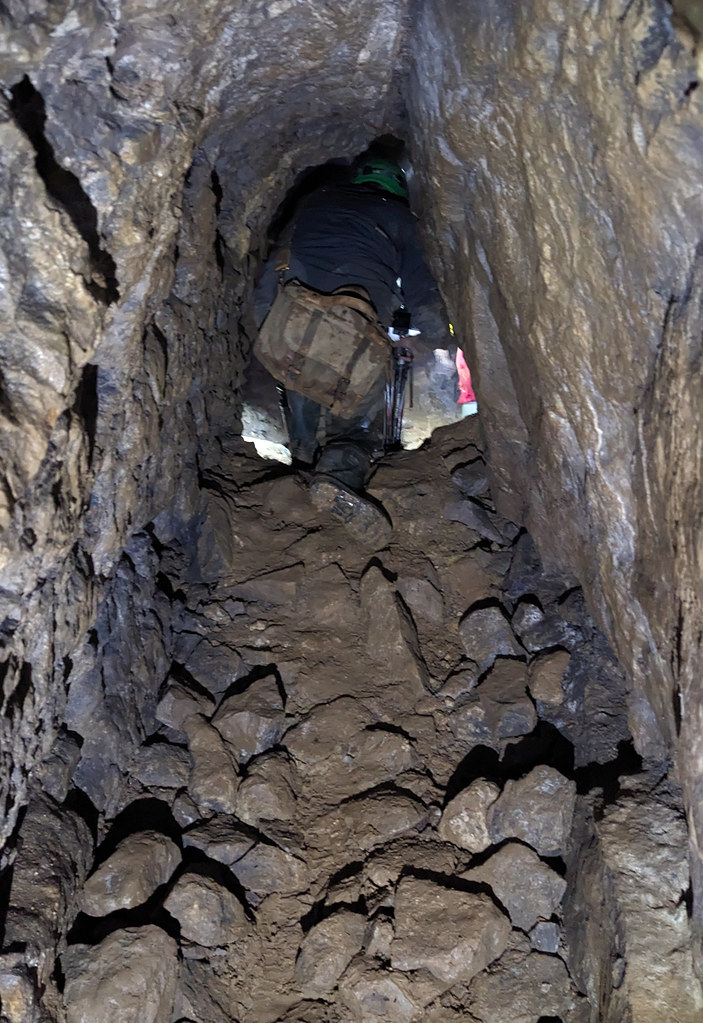
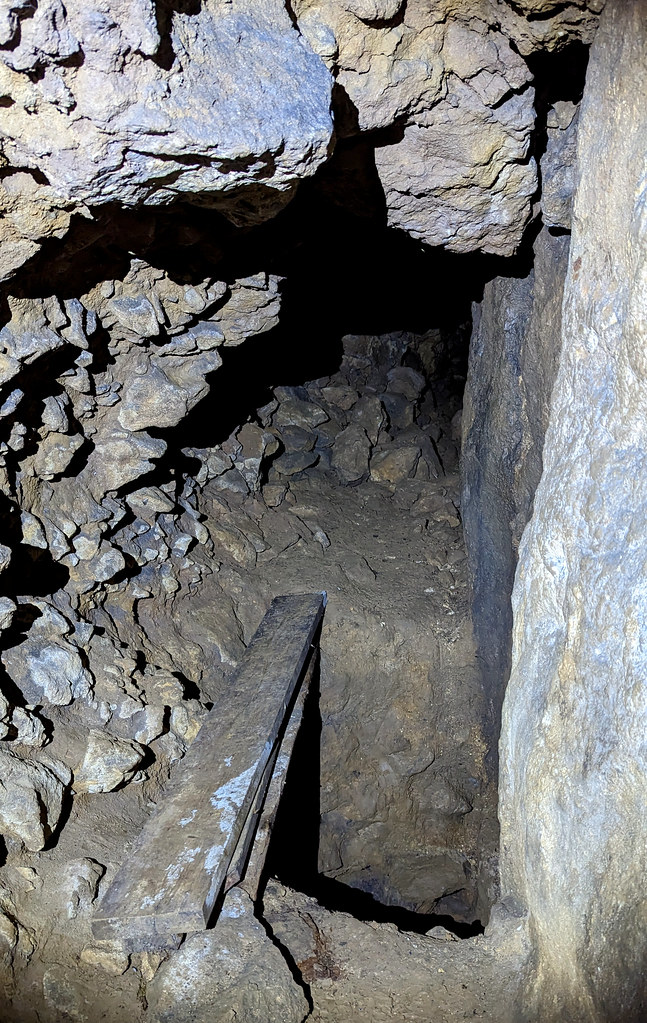
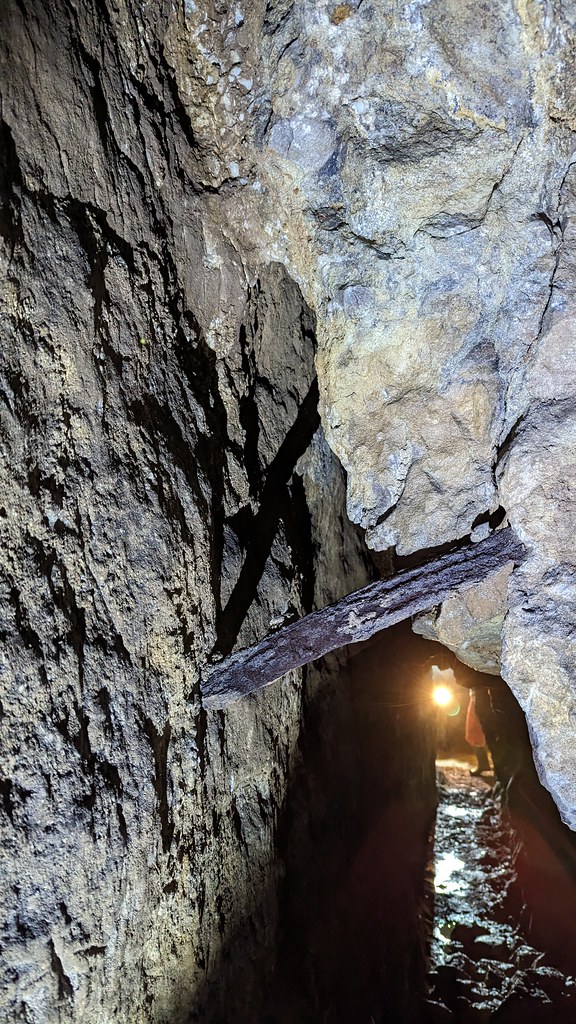
And we’re soon into Challenge #1: the Bridge of Doom!
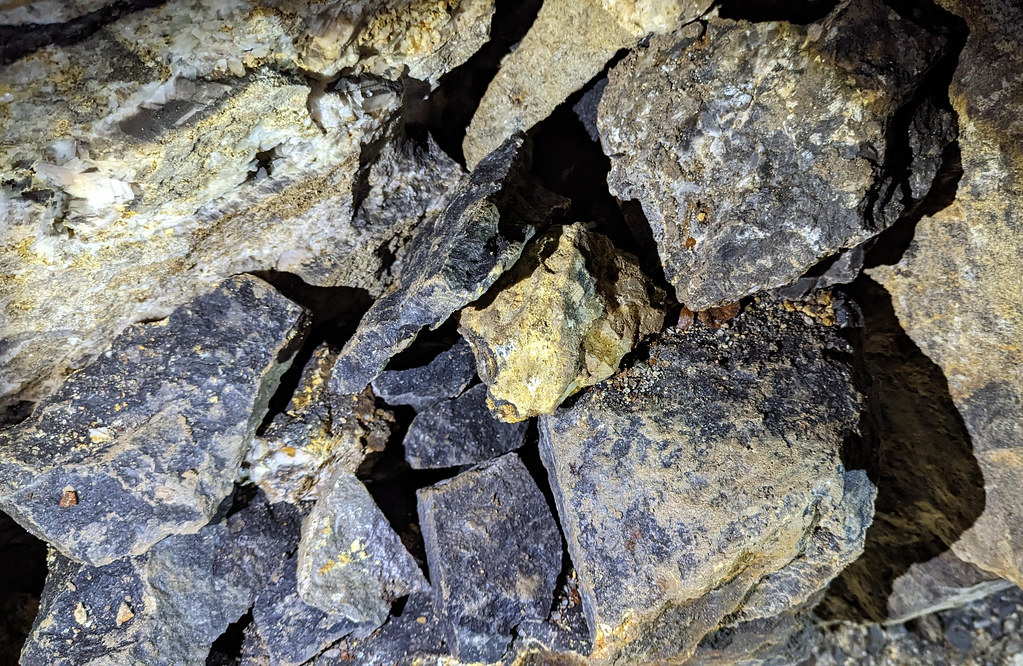
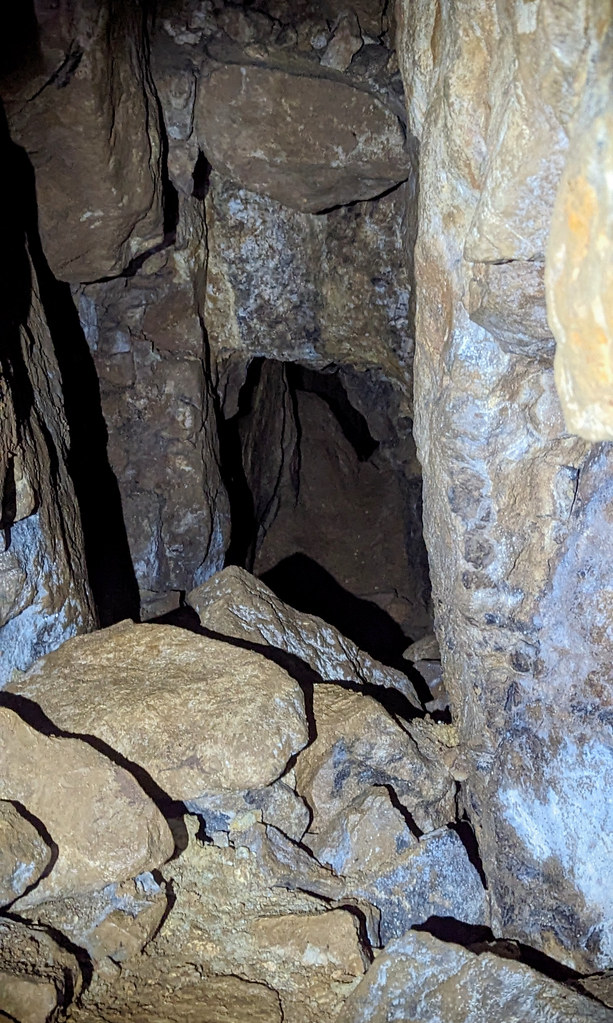
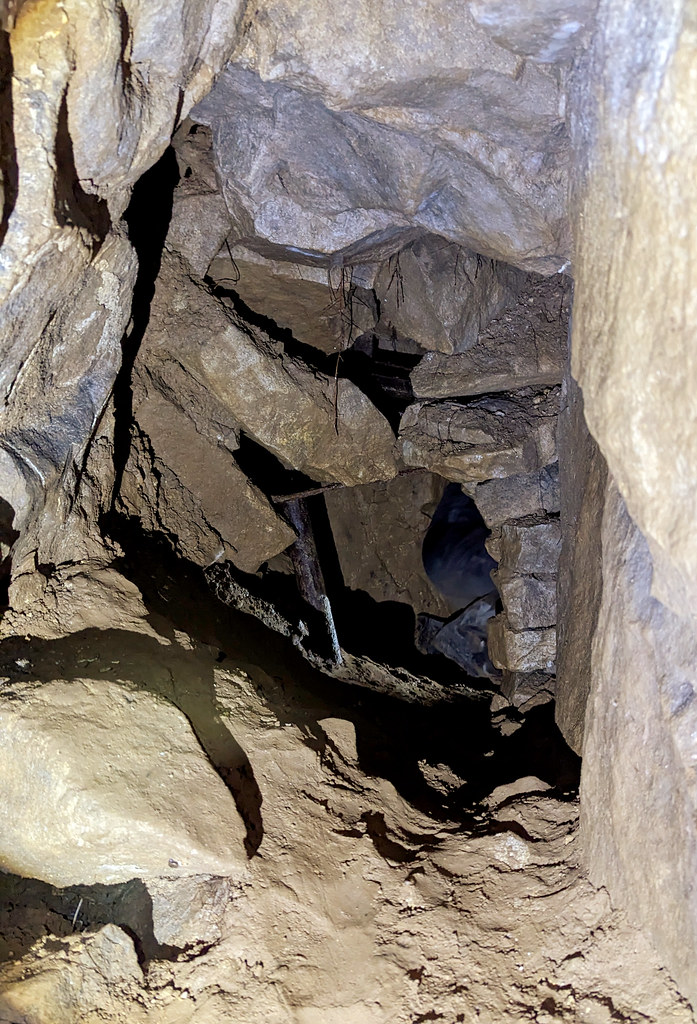
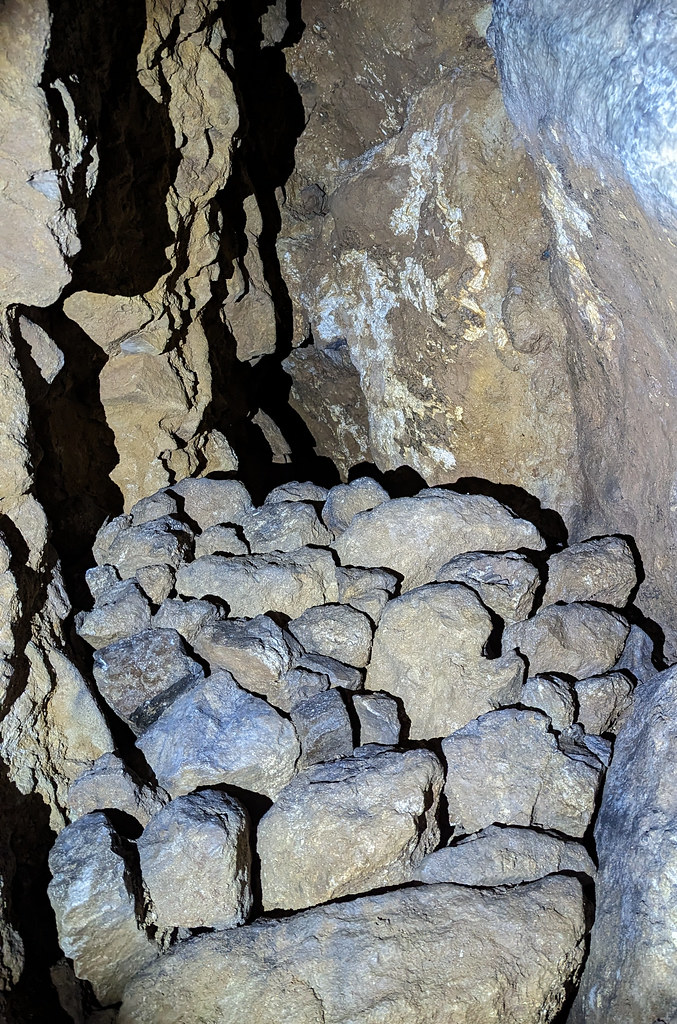
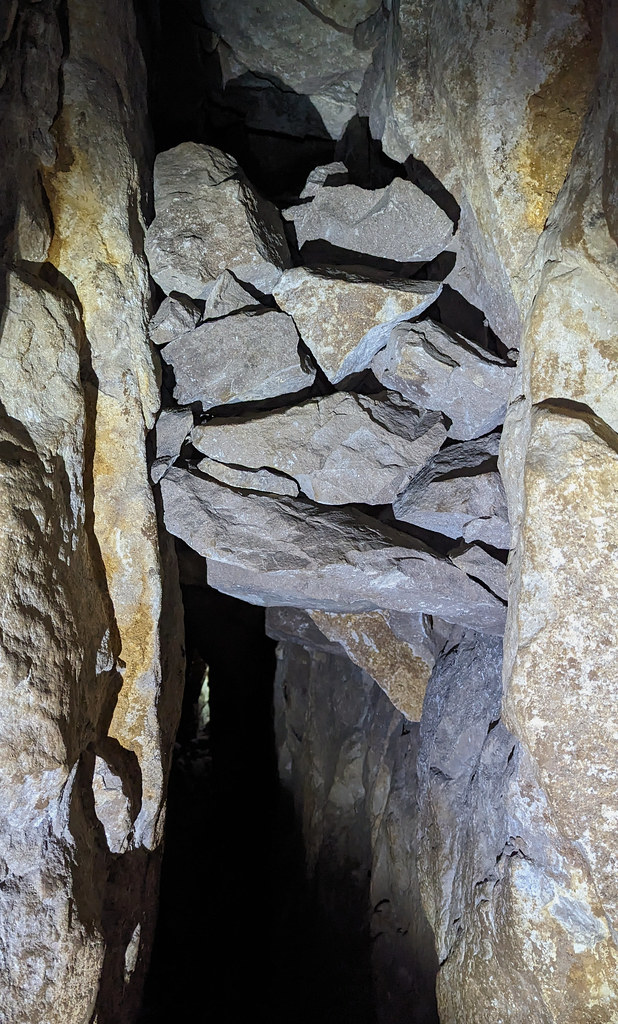
Stacked-up deads:
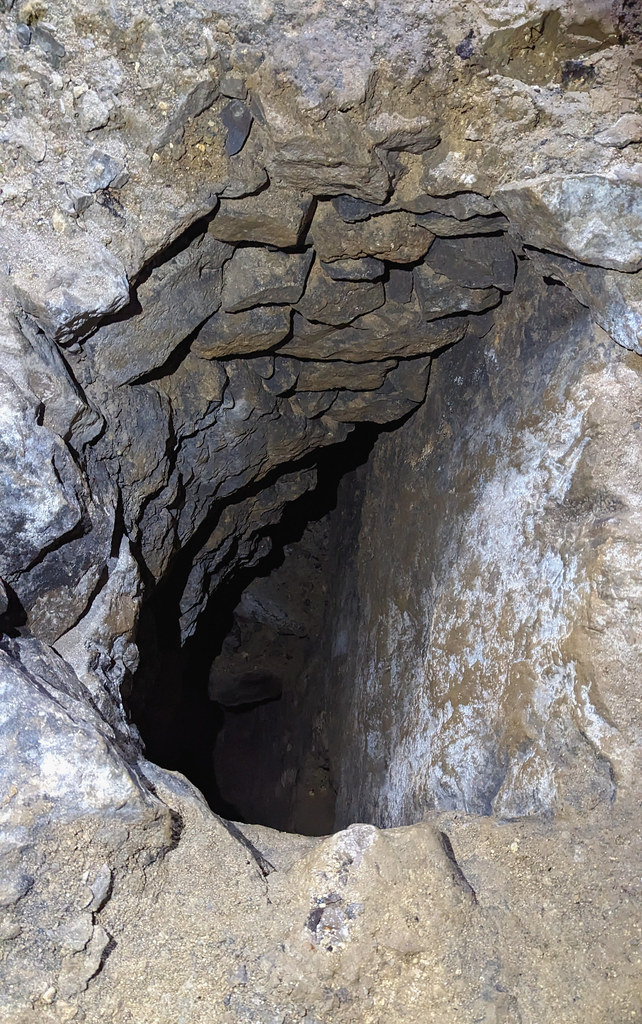
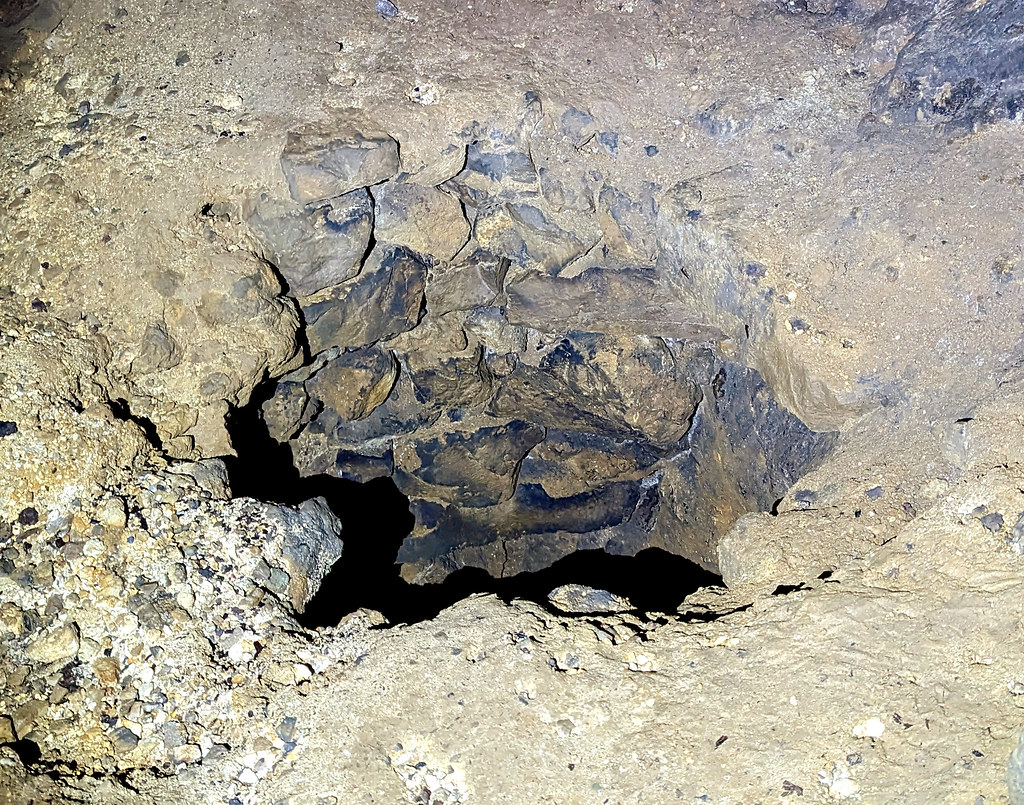
Think this is whinze #3:
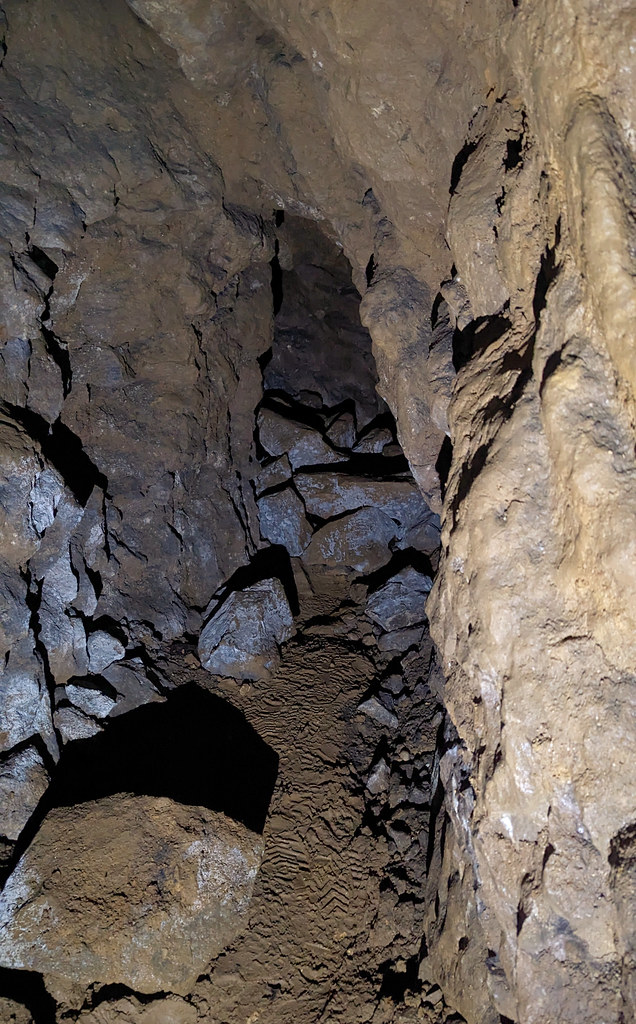
Onward over another collapse:
Stacked deads overhead!
An old prop in the stope:
More stacked up deads:
And another collapse:
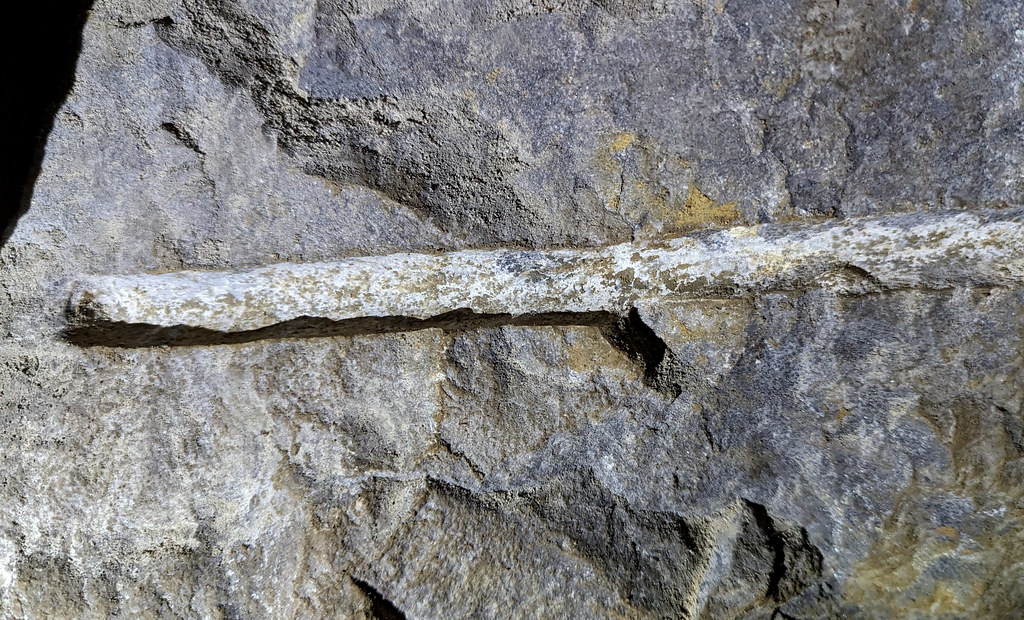
Old wooden prop on floor:
Probably best not to linger here!
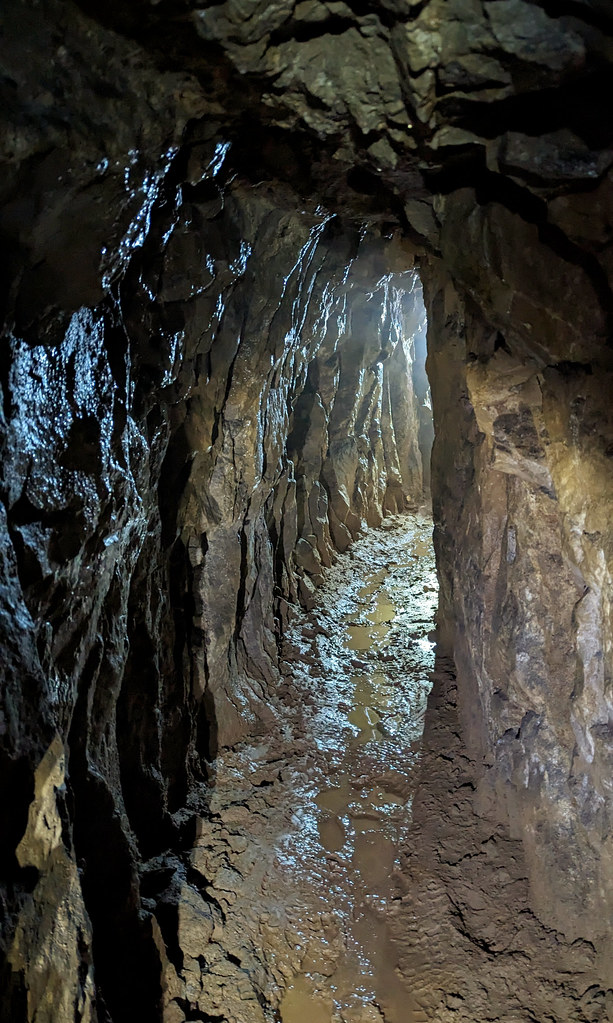
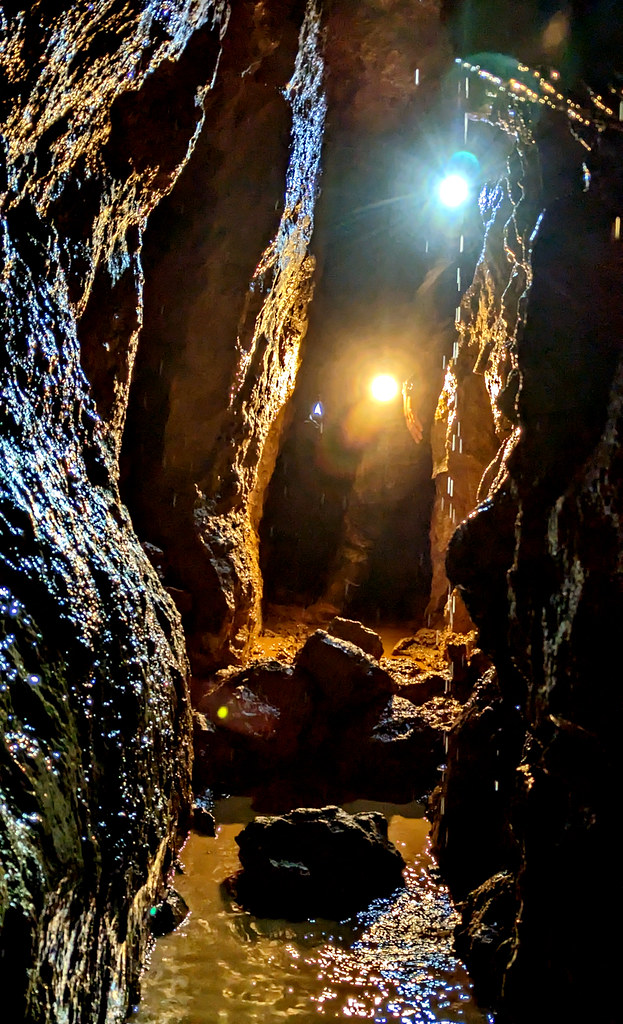
Approaching the wet section:
On the steep slopes of Via Gellia, a number of old lead mines and their soughs (drainage adits) can be found, all boasting the features you’d expect to be associated with 18th century lead extraction; shafts, whinzes (internal shafts), coes, stopes, coffin levels and stone-lined buddles.
Just north-east of the larger Silver Eye mine, lies Upper Cawror Slack with its upper 170ft above its lower levels. The adit was driven to tap into the 12”-24” thick band of baryte, fluorspar and calcite in the 1800s. Little other history about the place exists apart from the main adit had collapsed and the mine was inaccessible for many years until it was dug out in 1970 by R.B.Flindall. The smallness of the mine’s tip indicates this wasn’t a big mine, reinforced by the apparent lack of it being trammed and not having a miners’ coe.
Nearby, to the west, Gell’s adit can also be found. A much bigger concern, the mine’s waste tip almost reaching the road below. The mine’s name was taken from the Gell family who were very influential in the local lead mining community around the late 1600s. Worked throughout the 1800s and driven using drills, the only records entry for the mine is to note the death of a man who was working in the adit alone, in 1884. Like Cawror, the mine was entered for the first time in many years when the collapsed adit entrance was again dug out by R.B.Flindall, also in 1970. The initial entrance section was characterised by no less than five whinzes. ranging from 10ft to a staggering 62ft deep. Beyond the whinzes the stoping appears in order to extract led from the Old Gell’s vein along an easterly trajectory. The mine then swings through 120 degrees and then through 90 degreed to continue in a south-easterly direction before hitting a T-junction in order to with follow a strong north-south vein.
Map of Gell’s adit courtesy of R.B.Flindall and A.J.Hayes:
2. The Explore
Over the past couple of years we’ve been working our way through the lead mines of Via Gellia. Today it was the turn of Gell’s adit with regular mine exploring buddy J, the legend that is @bikinglyn and, for the first time, @Timmmy (nice to meet you mate!).
On a slightly foggy Sunday morn, we made our way along the public footpath from the lay-by, crossed the small wooden bridge over the stream (carefully, as J came a cropper on this two weeks previously!) and headed up the steep hill. Passing the right turn up to Goodluck mine, the slope then steepened and workings appeared both sides of the ‘path’. According to our map, these workings were Upper Cawror Slack mine. We had a small survey and of the two open entrances, the west one looked like there was a bit more to see. We quickly found the entrance as it was off to our left by the path and then we quickly squeezed in. After passing simultaneous short passages to the left and right (a cross-roads, right!), the passage quickly turned through 90 degrees to the right then ended abruptly in a significant collapse. This wasn’t the end, however. There was a shonky looking crawl through passage off to the left that involved shimmying under some rocks being held up by an iron bar. Bikin’ needed no inviting and he was through in a heartbeat. Me and Timmmy followed cautiously. It soon came to a T-junction where the adit ran parallel to Cawror Slack vein. To the right was a 30ft deep whinze and to the left the passage soon turned into a crawl, so we decided to make our way carefully back out and on to our main quarry.
Continuing up the hill, we bore upwards and then along the fence line at the top of the hill, keeping left along what can only be described as a vague track through the trees. Eventually we passed another partly collapsed shaft and then what looked like a waste tip and the walls of a ruined coe, so we knew we had found our adit. And sure enough, the small entrance to Gell's Adit was close by. Helmets were donned, torches switched on and in we went! We soon came to the first challenge. A 20ft adit with a plank to cross it! We gingerly crossed one-by-one. The 2nd whinze, a hair-raising 62ft deep, but fortunately was set back in an alcove to the right and the 3rd (12ft) and 4th (15ft) whinzes were easy to skirt round. The 5th 33ft deep whinze required a short leap over. With the holes in floors negotiated we were into the stoping. Moving through partial collapses and stoopy sections we then came to the “wet section”. I’d put on my wellies, J had his waders and Timmmy and Bikin, like myself, had wellies too. It became apparent very quickly that this was an “above welly” situation. So we just took the plunge and quite literally filled out (welly) boots. After a turn right and crawl under a small waterfall we continued on a section where it was very apparent that the mine was trammed. We then hit a crosscut tunnel and after looking at the collapse to the left and following the left turn to what eventually becomes a collapse, we turned round to make our way back out having travelled approximately half-a-kilometre into the mine. Overall, a very enjoyable lead mine. Not much in the way of mining detritus but an interesting adit to travers and worthy of its Grade II rating.
Having all safely emerged from the mine having spent the best part of an hour-and-a-half underground, we emptied the water out our wellies, wrang out our socks and scraped off the mud and made our way back down the steep slope to the car.
3. The Photographs
(A) Cawror Slack
Here’s the adit:
Here’s the squeeze!
It’s rocky:
And rugged:
Short passage off above to the right:
And a dead end to the left:
Having turned the corner:
The adit ends in a collapse:
But here’s that shonky crawl through to the left:
Through and to the T-junction. Here’s the 30ft whinze to the right:
The passage to the left very quickly narrows so time to turn around:
Back out we go:
That’s all for that one folks!
(B) Gell’s Adit
Here’s the collapsed coe:
And here’s the adit:
In we go:
And we’re soon into Challenge #1: the Bridge of Doom!
Stacked-up deads:
Think this is whinze #3:
Onward over another collapse:
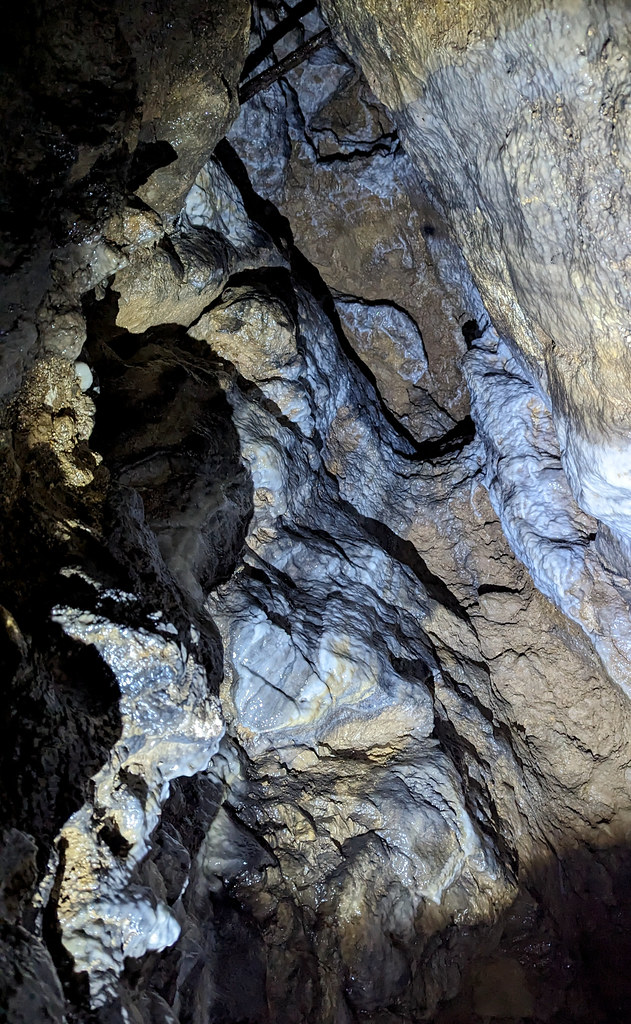
Stacked deads overhead!
An old prop in the stope:
More stacked up deads:
And another collapse:
Old wooden prop on floor:
Probably best not to linger here!
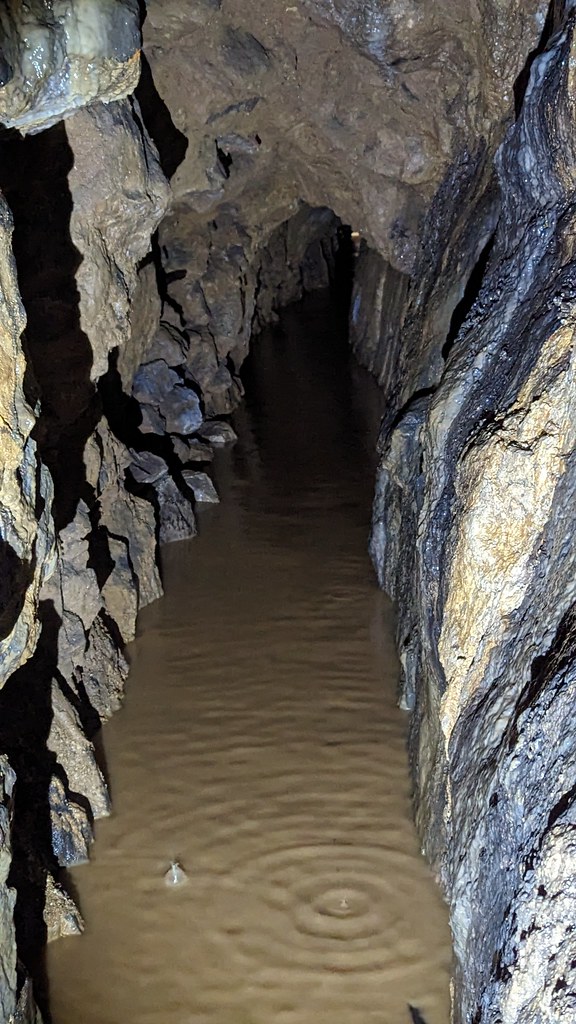
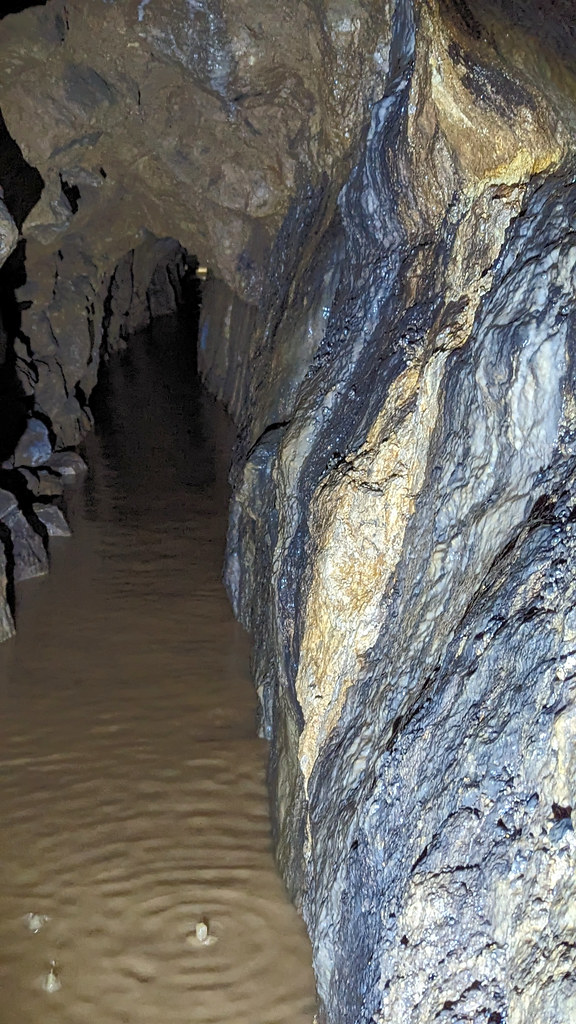
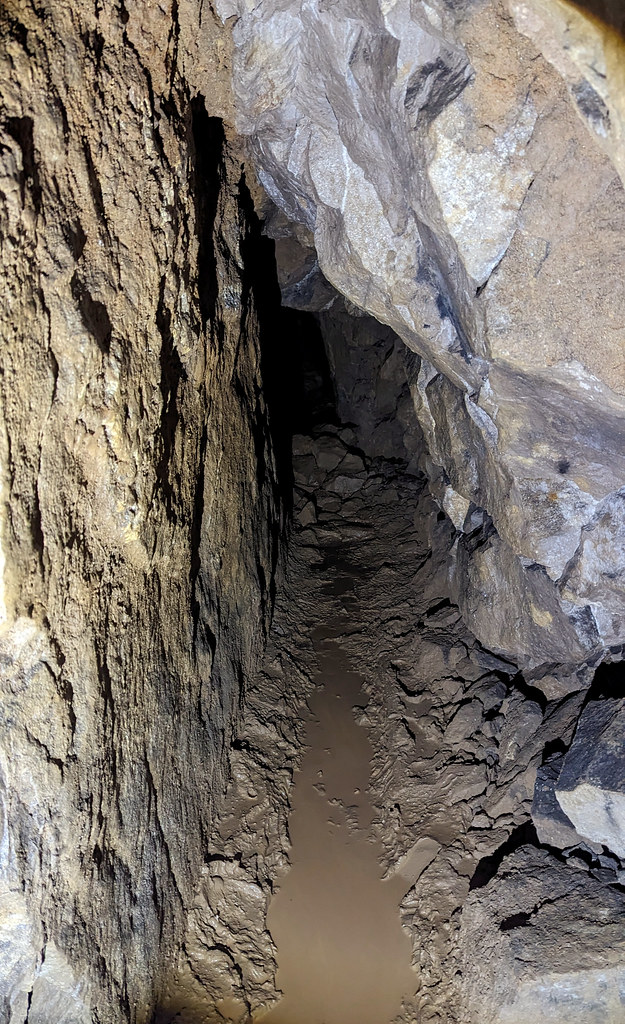
Approaching the wet section:
Last edited: